


Scaling Storages
This guide explains how to use the Expand Volume interface to increase the storage capacity of your database. Two approaches are available — a manual Expand Volume operation for an immediate one-time resize, and Storage Autoscaling which automatically expands storage based on usage thresholds.
1. Getting Started
To begin, select Scale Storage from the Operations section in the left sidebar.
You will land on the Expand Volume form, which contains two method cards at the top:
- Expand Volume — Manually increase the database storage volume to a specified size.
- Storage Autoscaling — Automatically scale storage capacity based on configurable usage thresholds.
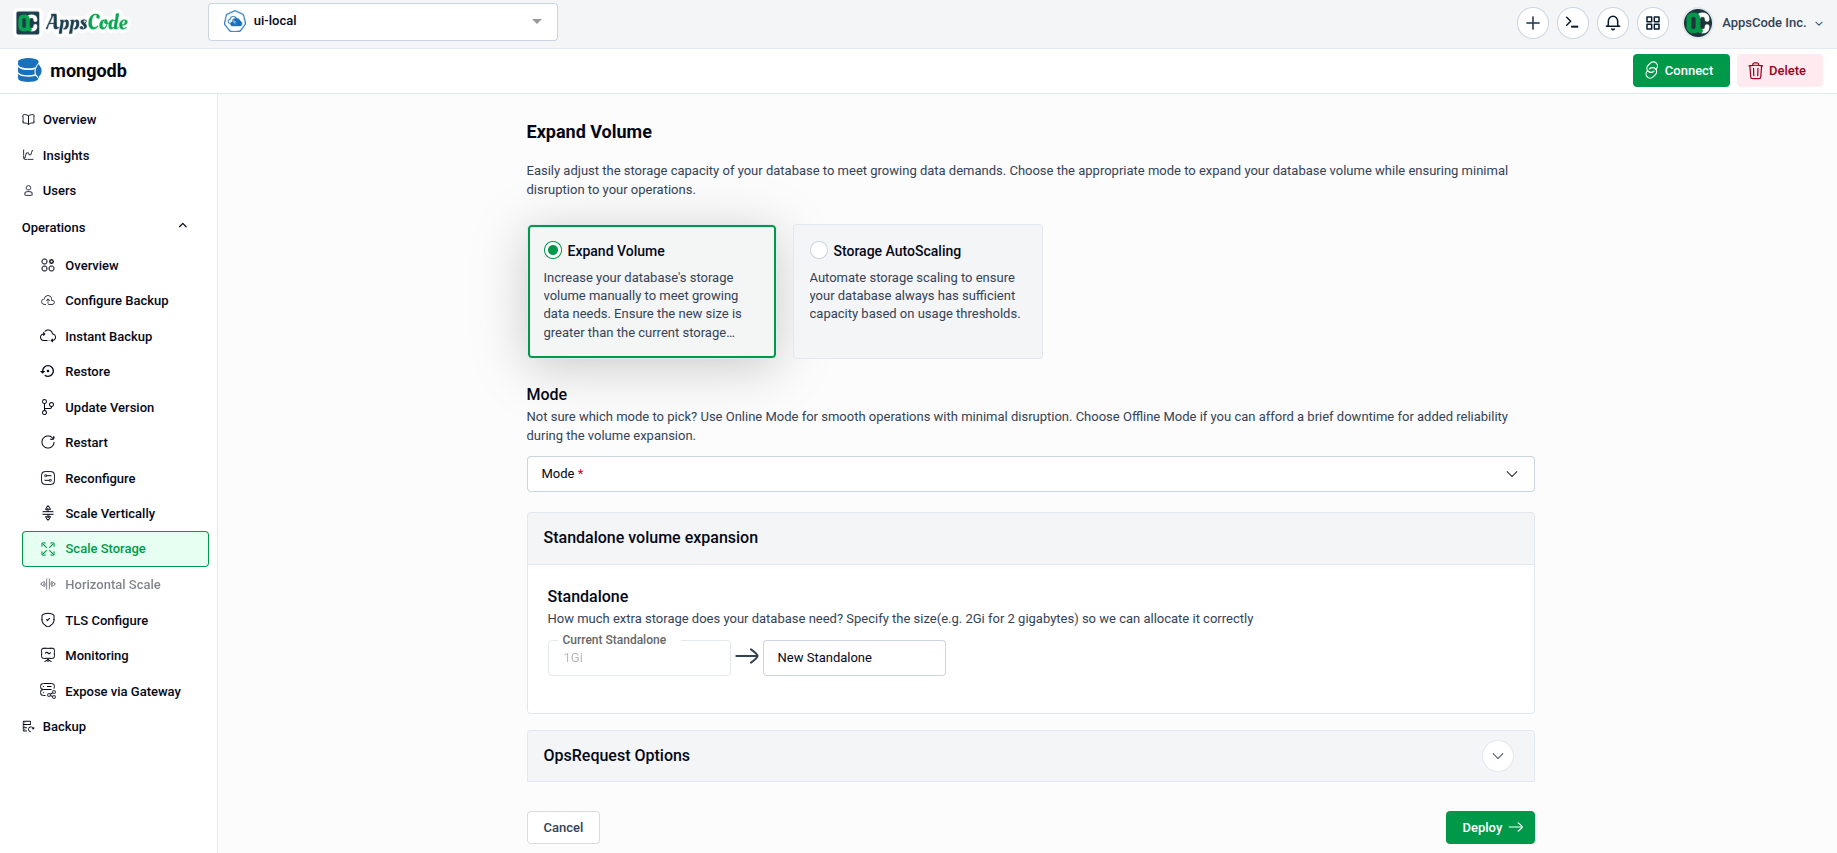
2. Expand Volume
Use this method to perform an immediate, one-time expansion of your database storage to a specific size.
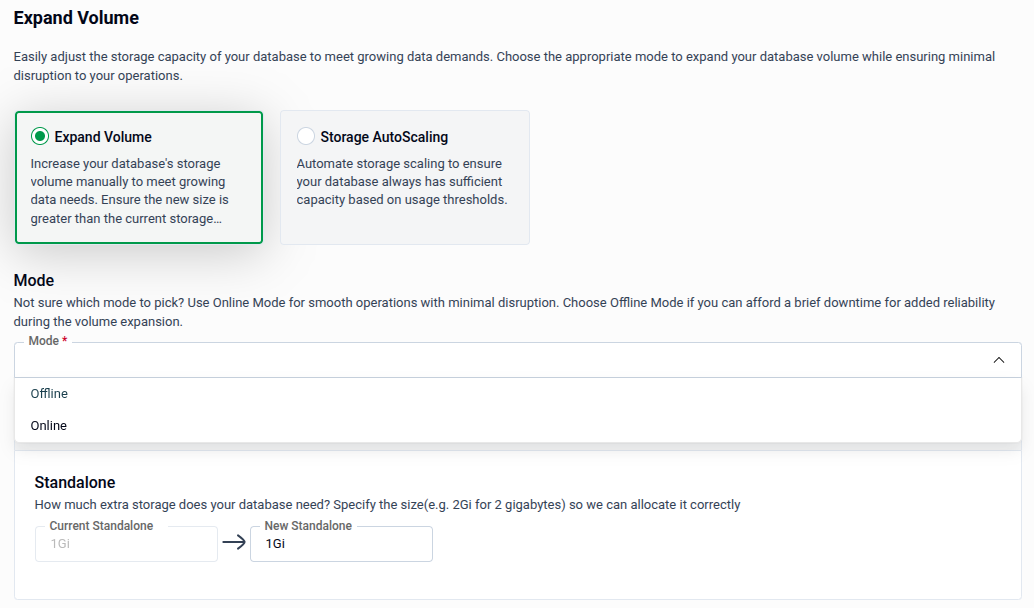
2.1 - Selecting the Mode
The Mode dropdown controls how the volume expansion is applied to the database nodes:
- Online — Expands storage while the database remains operational, with minimal disruption.
- Offline — The database is briefly stopped during expansion. Use this if your storage provider does not support online resizing.
Tip: Use Online mode wherever possible to avoid downtime. Choose Offline mode only if your storage class does not support live volume expansion.
2.2 - Configuring Standalone Storage
The Standalone panel specifies how much storage to allocate:
Current Storage: Displays the current storage size of the database (read-only, shown for reference).
New Standalone: Enter the new target storage size (e.g.,
5Gi). The value must be larger than the current size.Preview: Click Preview to review the generated OpsRequest before applying it.
Submit: Once satisfied, click Submit to apply the storage expansion.
Note: After every Preview, you must click Submit to save your changes.
Tip: On the Preview page, you can also switch to YAML or JSON view to edit the configuration directly before submitting.
3. Storage Autoscaling
Use this method to configure automatic storage expansion. The system monitors storage usage and expands capacity automatically when defined thresholds are crossed.
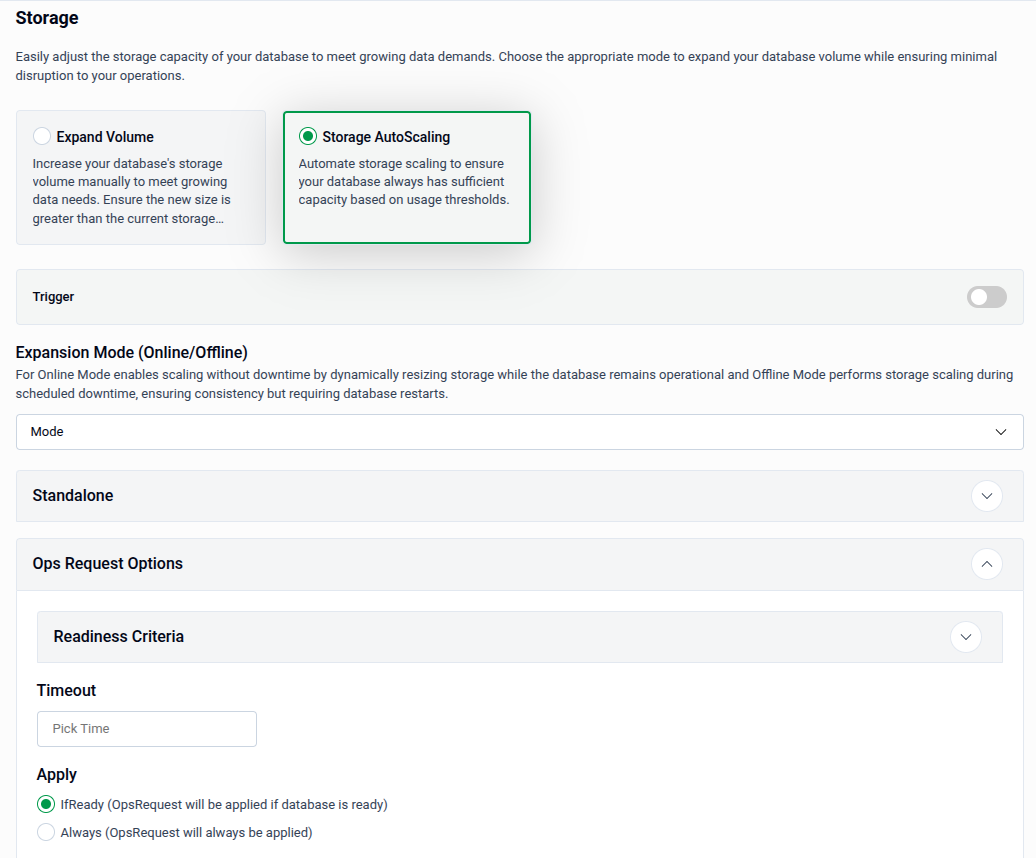
3.1 - Trigger
Toggle Trigger to enable or disable the autoscaling policy. When enabled, the autoscaler monitors storage usage and acts according to the rules defined below.
3.2 - Expansion Mode (Online/Offline)
Choose how the autoscaler expands storage when a threshold is triggered:
- Online — Expands storage while the database remains operational and serves requests.
- Offline — Pauses the database during expansion. Suitable for storage classes that do not support live resizing.
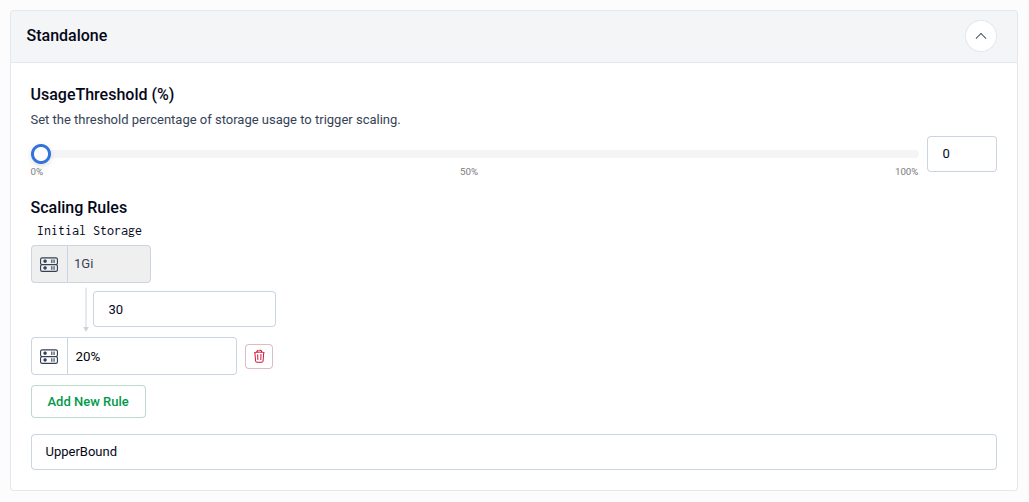
3.3 - Standalone Autoscaling Rules
The Standalone panel defines the usage threshold and scaling rules for standalone database nodes.
| Field | Description |
|---|---|
| UsageThreshold (%) | The storage usage percentage at which autoscaling is triggered. Adjust using the slider or enter a value directly (0–100%). |
| Scaling Rules — Initial Storage | The starting storage size from which scaling steps are calculated (e.g., 1Gi). |
| Scaling Rules — Step | The percentage by which storage is increased at each scaling step (e.g., 20% after the threshold is reached for 1Gi storage). |
| UpperBound | The maximum storage size the autoscaler is allowed to provision. Expansion stops once this limit is reached. |
Use Add New Rule to define additional scaling steps for different storage size ranges.
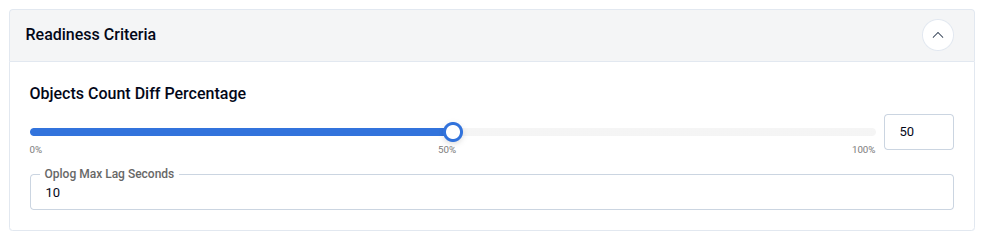
3.4 - Readiness Criteria
The Readiness Criteria panel defines conditions that must be met before the autoscaler considers the database ready to accept a storage expansion.
| Field | Description |
|---|---|
| Objects Count Diff Percentage | The maximum acceptable difference (%) in object counts between primary and secondaries before expansion is allowed. Adjust using the slider (0–100%). |
| Oplog Max Lag Seconds | The maximum acceptable oplog replication lag (in seconds) before expansion is allowed (e.g., 10). |
Note: These criteria ensure storage is only expanded when the database is in a healthy, consistent state — preventing expansion during replication lag or data inconsistency.
3.5 - Timeout and Apply
Timeout: Specify the maximum time allowed for the autoscaling operation to complete. Use formats like
30sec,1min, or2h.Apply: Choose when the OpsRequest should be applied:
- IfReady — The operation will only be applied if the database is in a ready state. This is the recommended option.
- Always — The OpsRequest will be applied regardless of the database's current state.
Preview: Click Preview to review the generated autoscaling manifest.
Submit: Once satisfied, click Submit to activate the autoscaling policy.
Quick Reference
| Action | How to do it |
|---|---|
| Manually expand storage | Select Expand Volume → set Mode → enter new size in Standalone → Preview → Submit |
| Enable storage autoscaling | Select Storage Autoscaling → enable Trigger → set thresholds and rules → Preview → Submit |
| Set expansion mode | Mode dropdown → choose Online or Offline |
| Define scaling rules | Standalone → set UsageThreshold, Scaling Rules, and UpperBound |
| Set readiness conditions | Readiness Criteria → set Objects Count Diff % and Oplog Max Lag Seconds |
| Edit manifest before applying | Use the YAML / JSON toggle on the Preview page |