


Configure Backups
This guide covers how to use the Configure Backup interface to manage data protection via individual configurations (BackupConfig) or broader templates (BackupBlueprint).
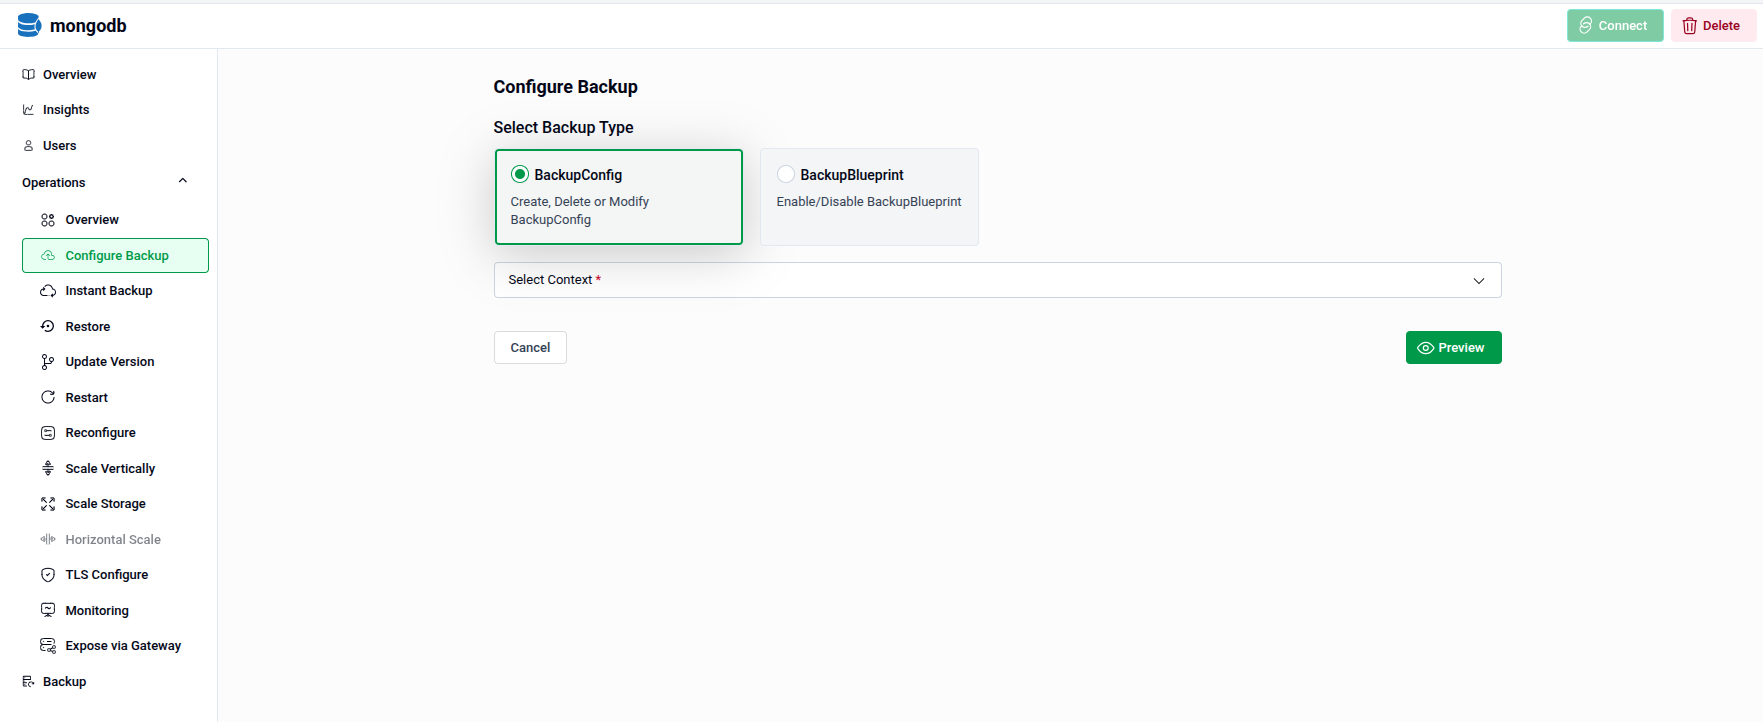
1. Getting Started
To begin, select Configure Backup from the left sidebar. This selection determines the available settings and workflow.
- BackupConfig: Use this to create, delete, or modify specific backup tasks.
- BackupBlueprint: Use this to manage high-level templates for enabling or disabling backups across multiple resources.
2. Managing Backup Configurations (BackupConfig)
When BackupConfig is selected, define the Select Context to indicate the specific action you wish to perform.
2.1 - Creating a New Configuration
Use this context to set up a new automated backup schedule.
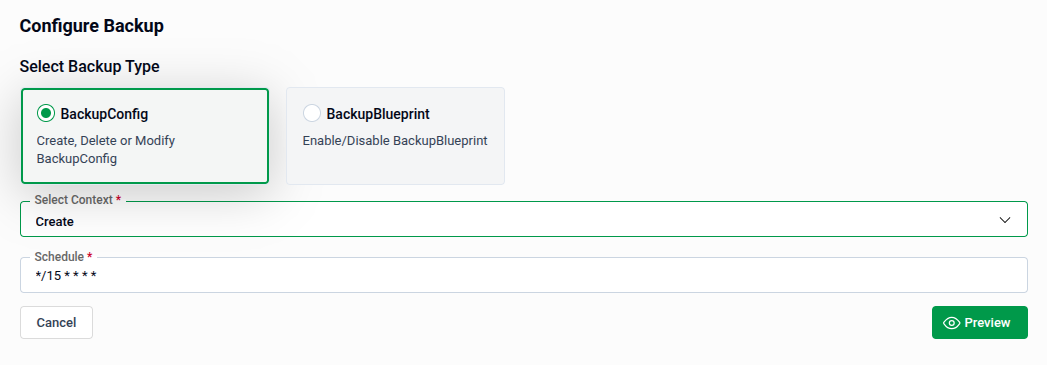
- Select Context: Choose Create from the dropdown menu.
- Schedule: Enter a cron expression to define the backup frequency. For example,
*/15 * * * *triggers a backup every 15 minutes. - Preview: Click Preview to review your settings.
- Submit: Once satisfied, click Submit to apply the new configuration.
Tip: The Schedule field is mandatory (marked with a red asterisk). Ensure your cron expression is valid before proceeding.
2.2 - Modifying an Existing Configuration
Use this context to update the settings or status of an active backup.
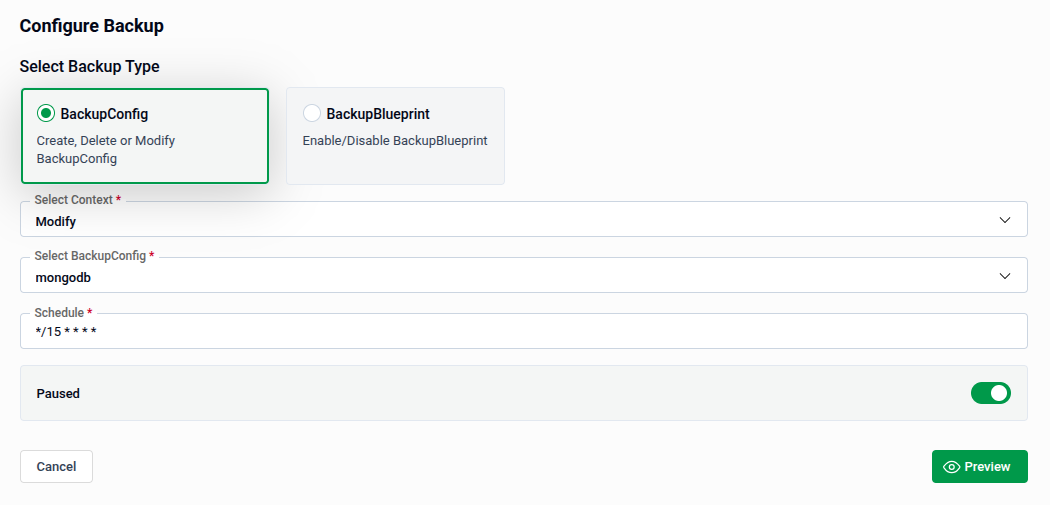
- Select Context: Choose Modify.
- Select BackupConfig: Pick the specific configuration you want to edit (e.g.,
mongodb) from the dropdown list. - Update Schedule: Change the cron expression if the backup needs to run more or less frequently.
- Paused Toggle: Use this switch to temporarily stop the schedule without deleting the configuration.
- Toggle on to pause (inactive). Toggle off to resume — the backup will run according to the schedule.
- Preview: Click Preview to see how the changes will impact your system.
- Submit: Once satisfied, click Submit to apply the changes.
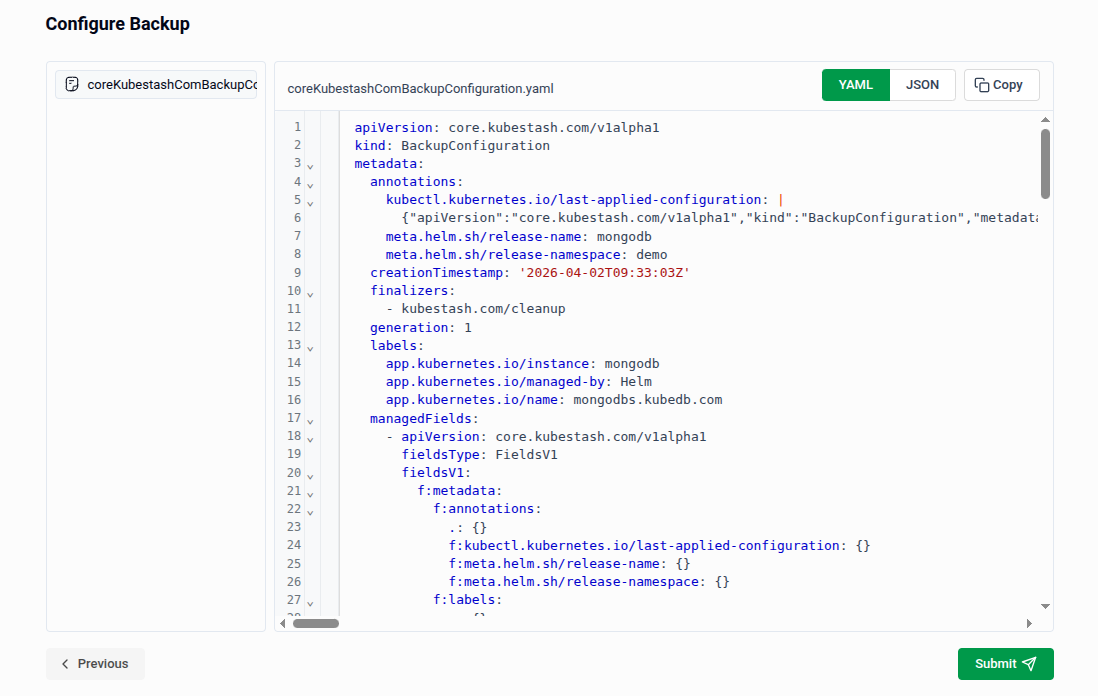
Note: After every Preview, you must click Submit to save your changes. This applies across all backup operations.
Tip: On the Preview page, you can also switch to YAML or JSON view to edit your configuration directly before submitting. This is useful for making precise adjustments beyond what the form fields expose.
2.3 - Deleting a Configuration
Use this context to permanently remove a backup configuration.
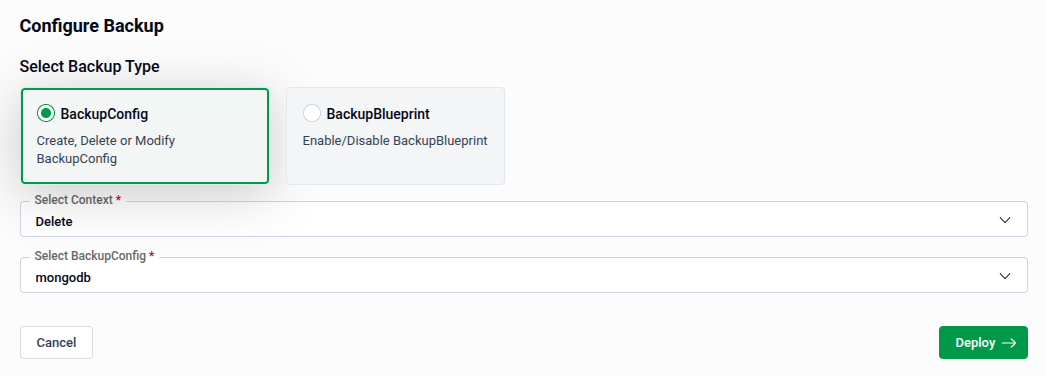
- Select Context: Choose Delete.
- Select BackupConfig: Select the configuration you wish to remove (e.g.,
mongodb). - Finalize: Click Deploy to execute the deletion.
Warning: Unlike other contexts, this button says Deploy — clicking it will immediately apply the removal with no further confirmation.
3. Managing Backup Blueprints (BackupBlueprint)
Selecting the BackupBlueprint type allows you to toggle predefined backup templates for your environment.
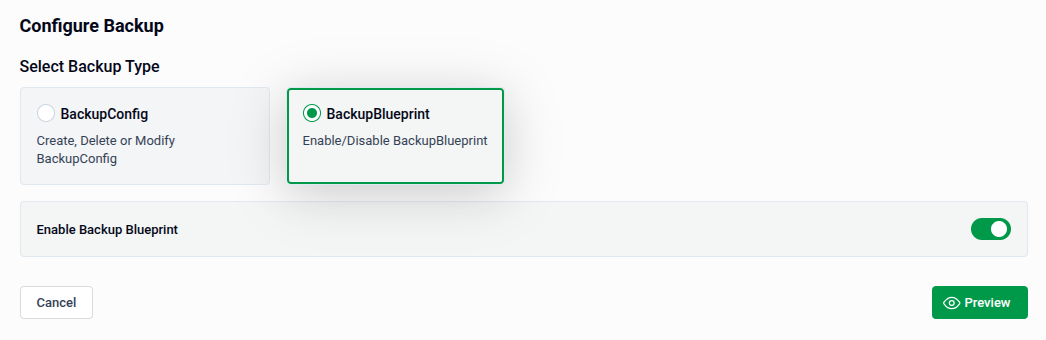
- Enable Backup Blueprint Toggle: Switching on activates the selected blueprint, applying its settings to the relevant resources. Switching off deactivates it.
- Preview: Click Preview to confirm which configurations will be affected before the change takes effect.
- Submit: Once satisfied, click Submit to apply the blueprint change.
Quick Reference
| Action | How to do it |
|---|---|
| Create a backup schedule | BackupConfig → Create → set Schedule → Preview → Submit |
| Modify an existing backup | BackupConfig → Modify → choose config → update settings → Preview → Submit |
| Delete a backup config | BackupConfig → Delete → choose config → Deploy |
| Enable/disable a blueprint | BackupBlueprint → toggle Enable Backup Blueprint → Preview → Submit |