


Project Quota Management
Project Quota lets you set resource limits — CPU and Memory — for specific Kubernetes resource types within a namespace. This prevents any single workload from consuming more than its fair share of cluster resources.
Step 1 — Open the Project Quota Page
In the left sidebar, navigate to Project Quota (under Cluster Settings or Appscode K8s Management, depending on your sidebar layout).
The Project Quota page lists all existing quotas. Each row shows the Name (the namespace the quota applies to) and the Age (when it was created). Use the 🔍 search icon at the top right to filter the list.
To delete an existing quota, click the red Delete button next to it.
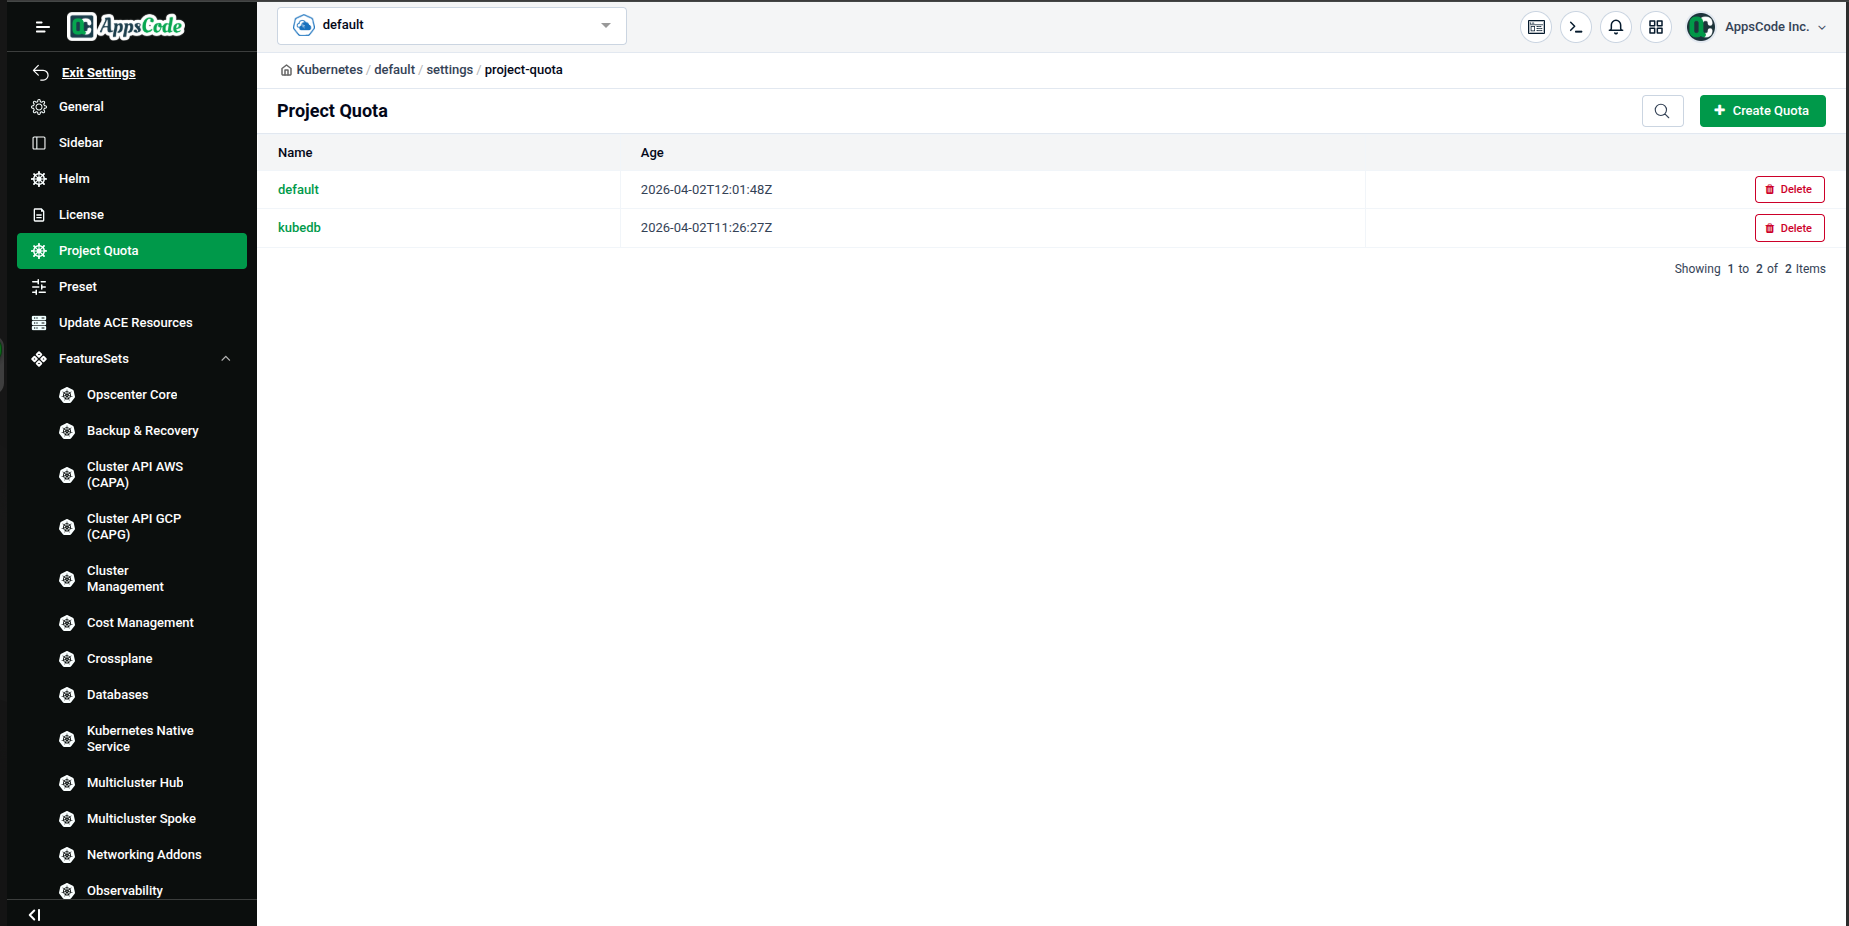
Step 2 — Start Creating a New Quota
Click the green + Create Quota button in the top-right corner of the page to open the Create Project Quota form.
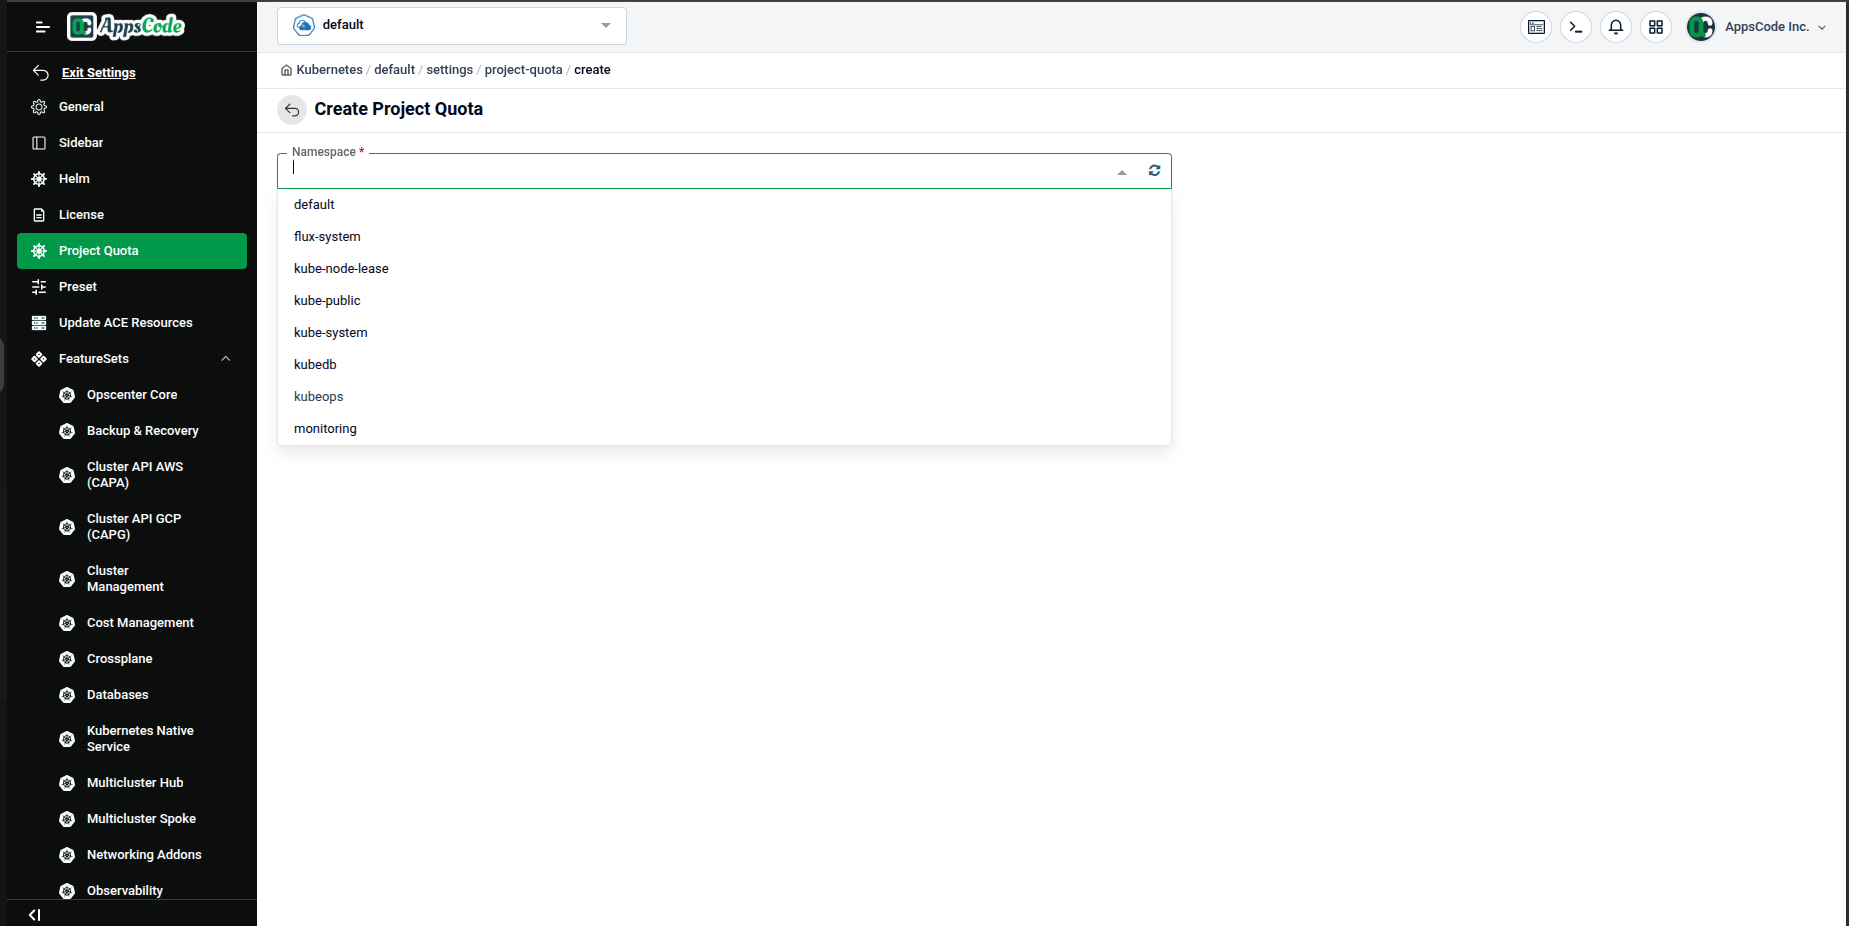
Select a Namespace
The first field is Namespace (required). Click the field to open a dropdown listing all namespaces in your cluster. Select the namespace you want to apply the quota to (for example, kubeops).
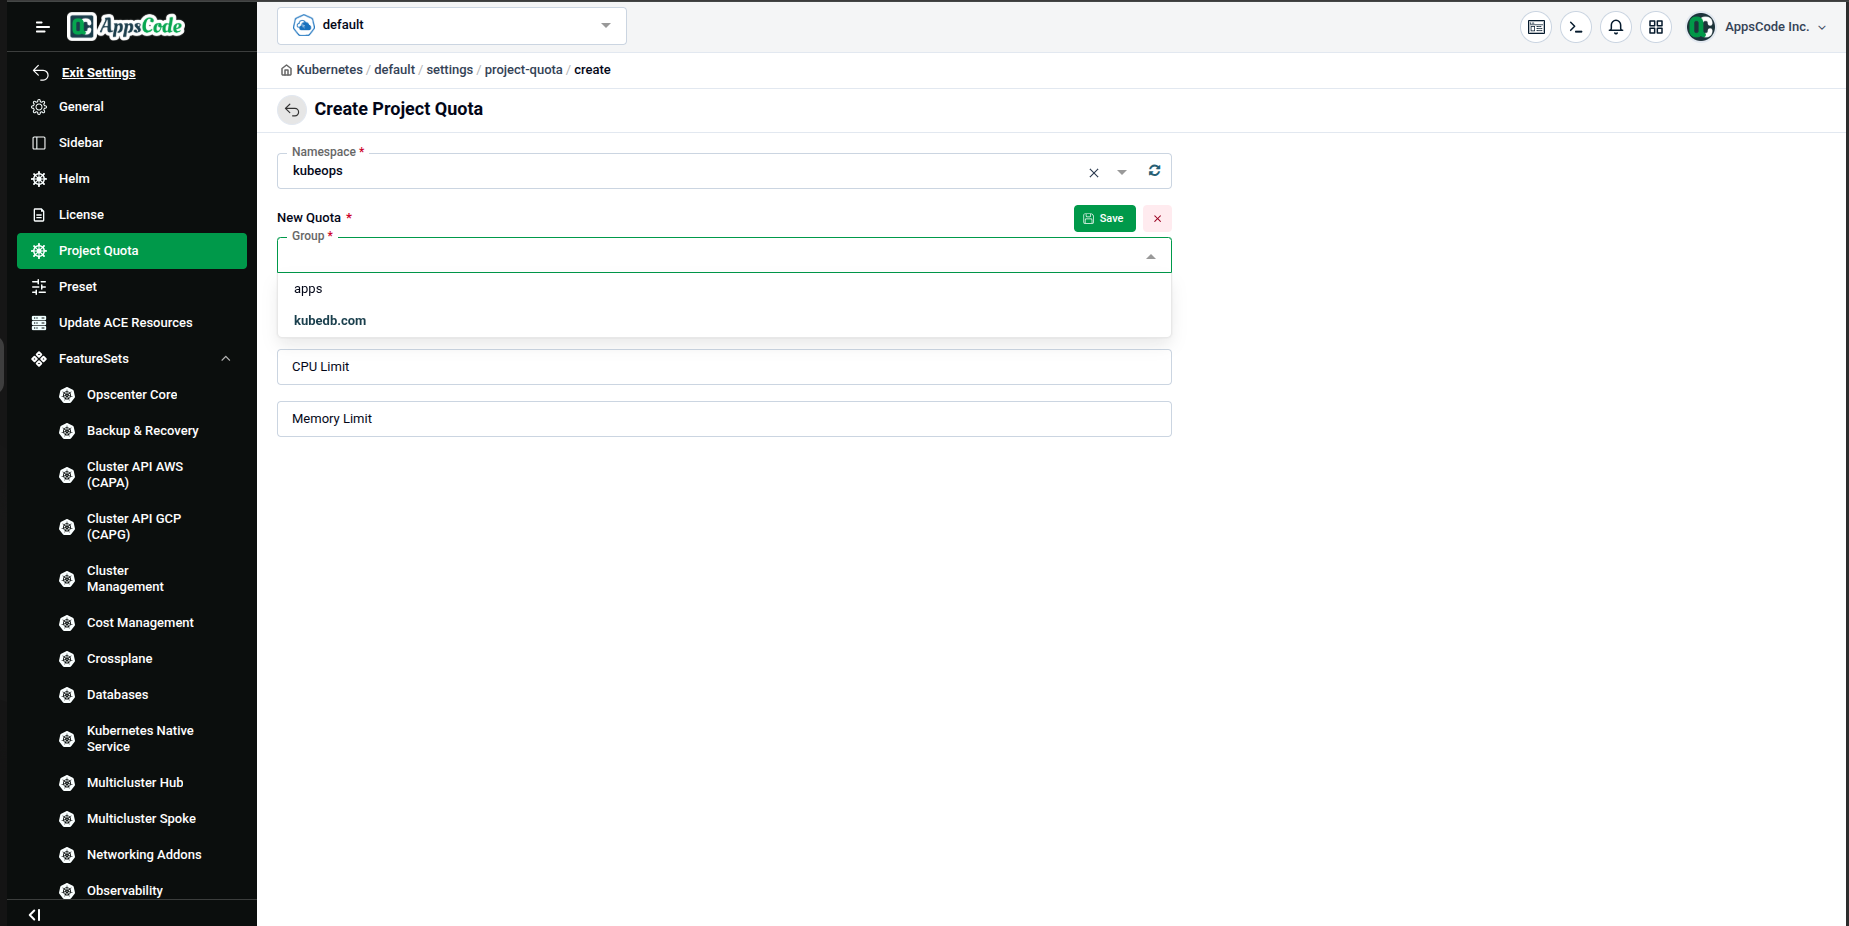
Step 3 — Configure the Quota Rule
After selecting a namespace, a New Quota section appears. Here you define the rule to enforce.
Select the API Group
Click the Group dropdown. Choose the API group of the resource you want to limit. For example:
apps— for standard Kubernetes workloads (Deployments, StatefulSets, etc.)kubedb.com— for KubeDB-managed databases
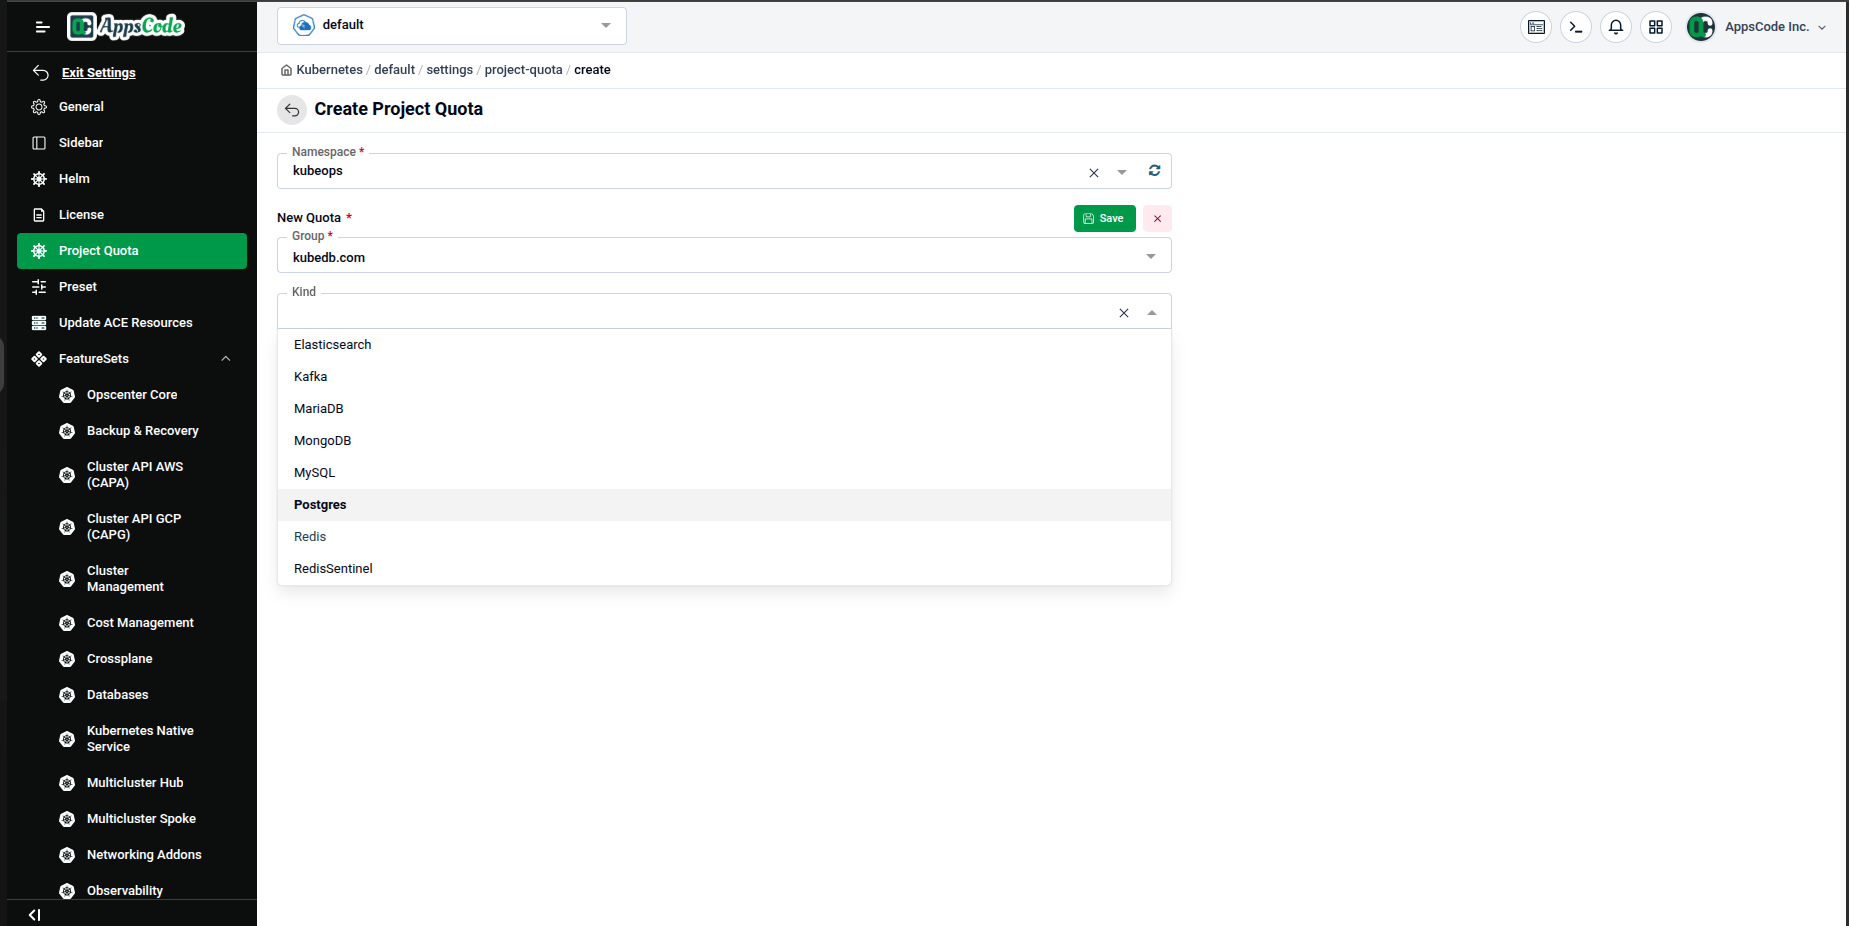
Select the Resource Kind
After choosing a group, click the Kind dropdown. The list is filtered to show only the resource types available under the selected group.
For example, with kubedb.com selected, you can choose from: Elasticsearch, Kafka, MariaDB, MongoDB, MySQL, Postgres, Redis, RedisSentinel, and more.
Set CPU and Memory Limits
Once the Kind is selected, fill in the resource limits:
| Field | Description | Example |
|---|---|---|
| CPU Limit | Maximum CPU cores allowed for this resource kind in the namespace | 8 |
| Memory Limit | Maximum memory allowed for this resource kind in the namespace | 24Gi |
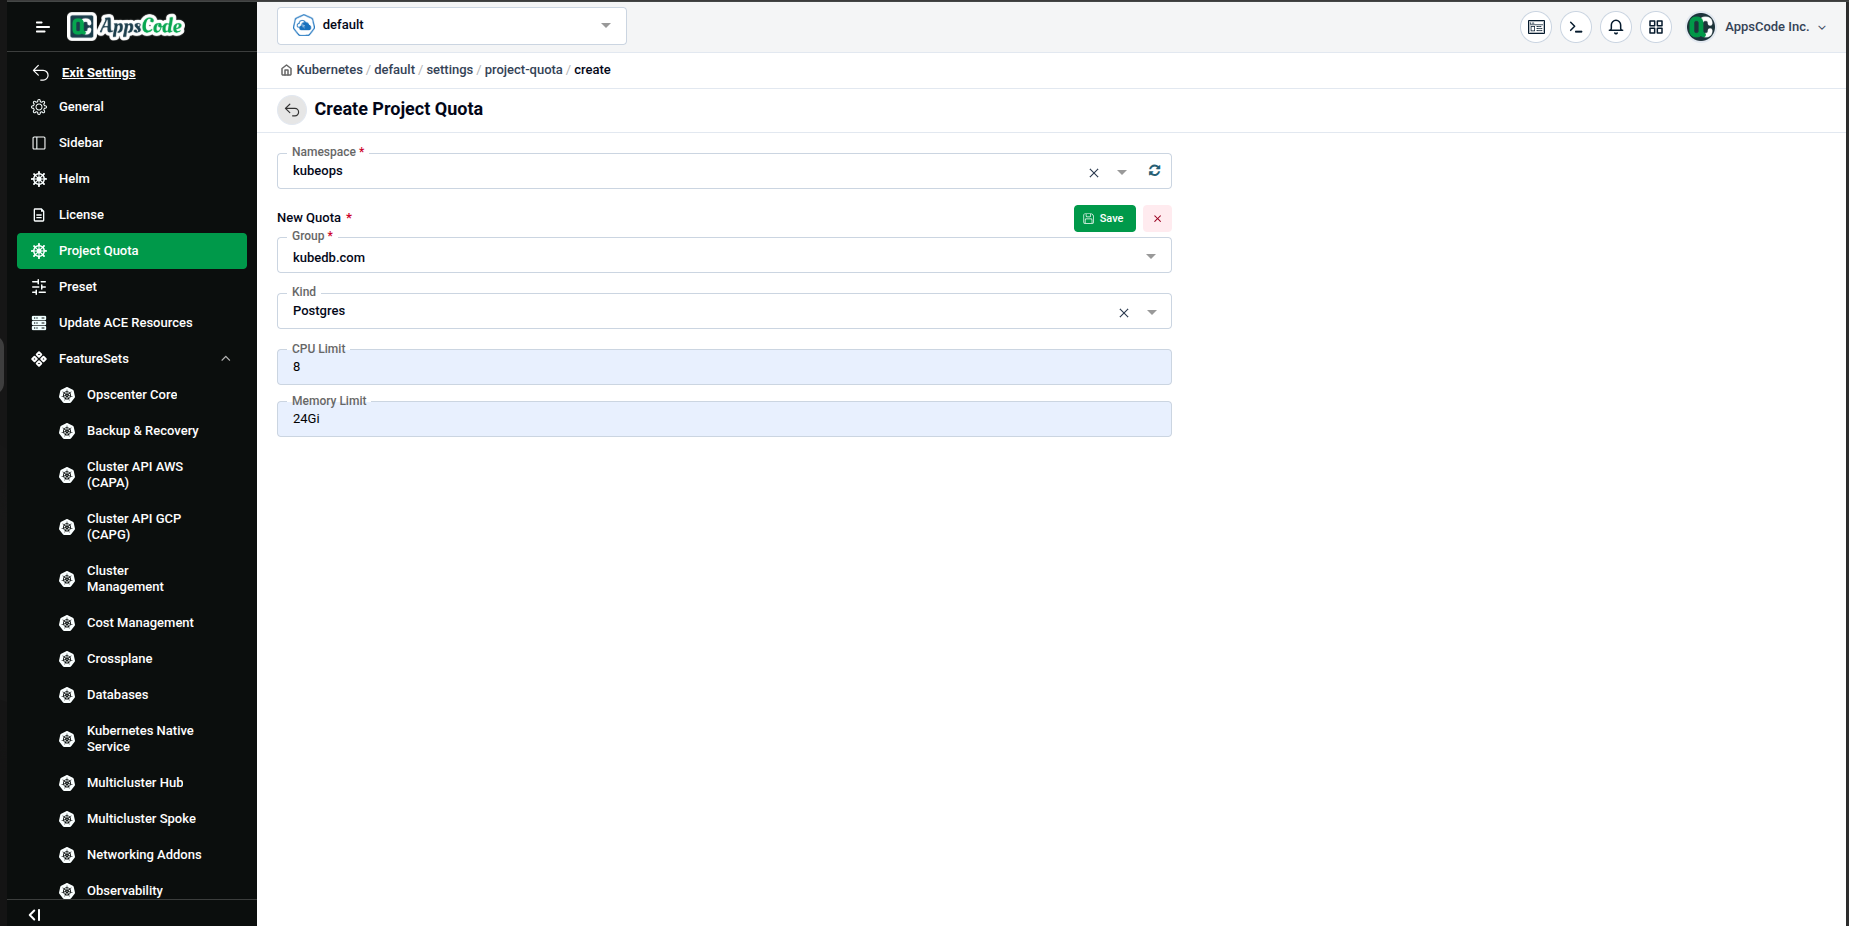
Click the green Save button (within the New Quota section) to stage this rule.
Step 4 — Review Staged Quotas & Save
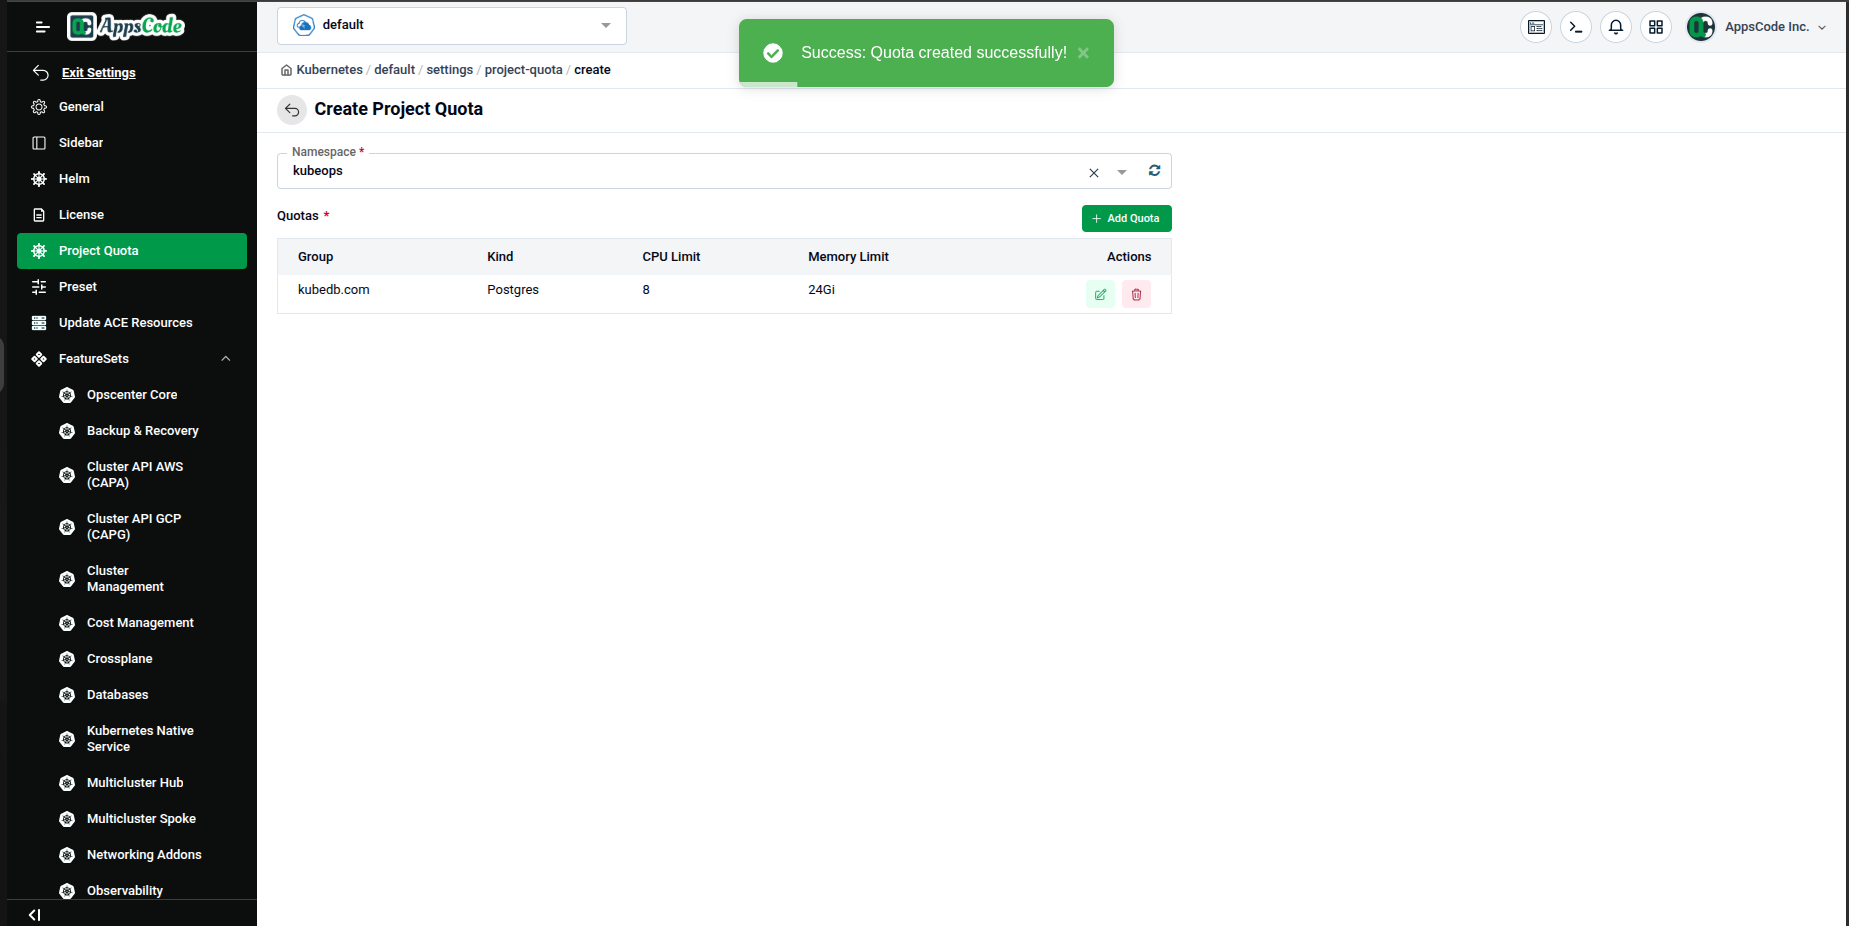
After staging a rule, it appears in the Quotas table below, showing the Group, Kind, CPU Limit, Memory Limit, and Actions (edit ✏ / delete 🗑).
A green toast notification confirms: "Quota created successfully!"
You can click + Add Quota to add more rules for other resource types in the same namespace.
Once you have added all your rules, click the main Save button to permanently apply the project quota to the selected namespace.
Step 5 — Edit an Existing Quota
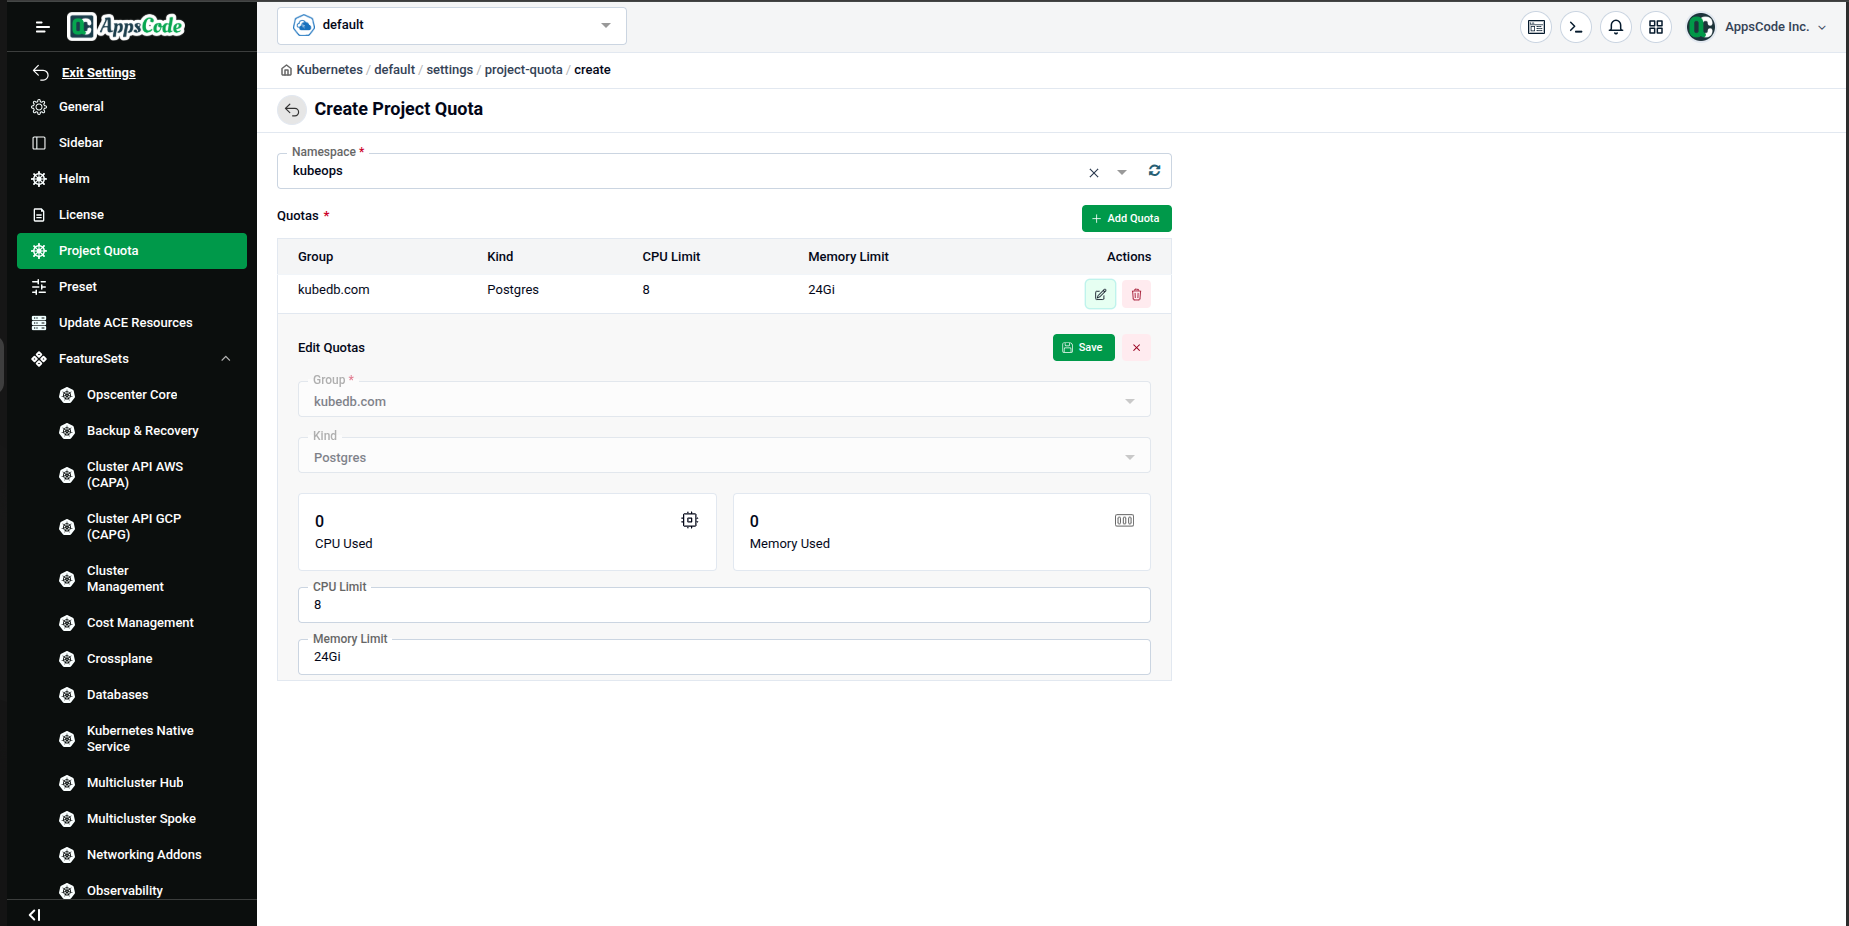
To modify a quota rule, click the ✏ edit icon in the Actions column of the Quotas table.
An Edit Quotas inline form expands below the table. The Group and Kind fields are pre-filled and locked (greyed out) since they identify the rule. You can see the current CPU Used and Memory Used values alongside the editable CPU Limit and Memory Limit fields.
Update the limits as needed and click Save to apply the changes.
Quick Reference
| Task | How to do it |
|---|---|
| View all quotas | Open Project Quota in the left sidebar |
| Create a new quota | Click + Create Quota, select namespace → group → kind → limits → Save |
| Add more rules to a quota | Click + Add Quota in the Quotas table |
| Edit a quota rule | Click the ✏ icon in the Actions column → adjust limits → Save |
| Delete a quota | Click the 🗑 icon in the Actions column (or Delete on the list page) |