


KubeDB Rancher Extension
The KubeDB Rancher Extension enables you to manage KubeDB resources directly from the Rancher UI. With this extension, you can deploy, monitor, and manage production-grade databases in your Kubernetes clusters without leaving the Rancher dashboard.
This guide walks you through deploying and configuring the KubeDB Rancher Extension so you can start managing your databases seamlessly within Rancher.
1. Prerequisites
Before proceeding, make sure you have:
- A Rancher setup with access to the Local cluster.
- An account on appscode.com.
- The ACE platform deployed on your Rancher cluster.
2. Deploying the KubeDB Rancher Extension
Step 1 – Deploy ACE
- Create an account at appscode.com.
- Follow the self-hosting ACE guide to deploy ACE on your Rancher cluster.
You can also watch this video tutorial for step-by-step instructions: Self-Hosting ACE Video Guide
Step 2 – Create a Rancher-Type Organization in ACE
- Visit your ACE URL and log in with your admin account.

- Navigate to Organizations and create a new organization with the type set to Rancher.
- Provide a valid Sync Token.
The Sync Token is used to synchronize Rancher users into the ACE platform.

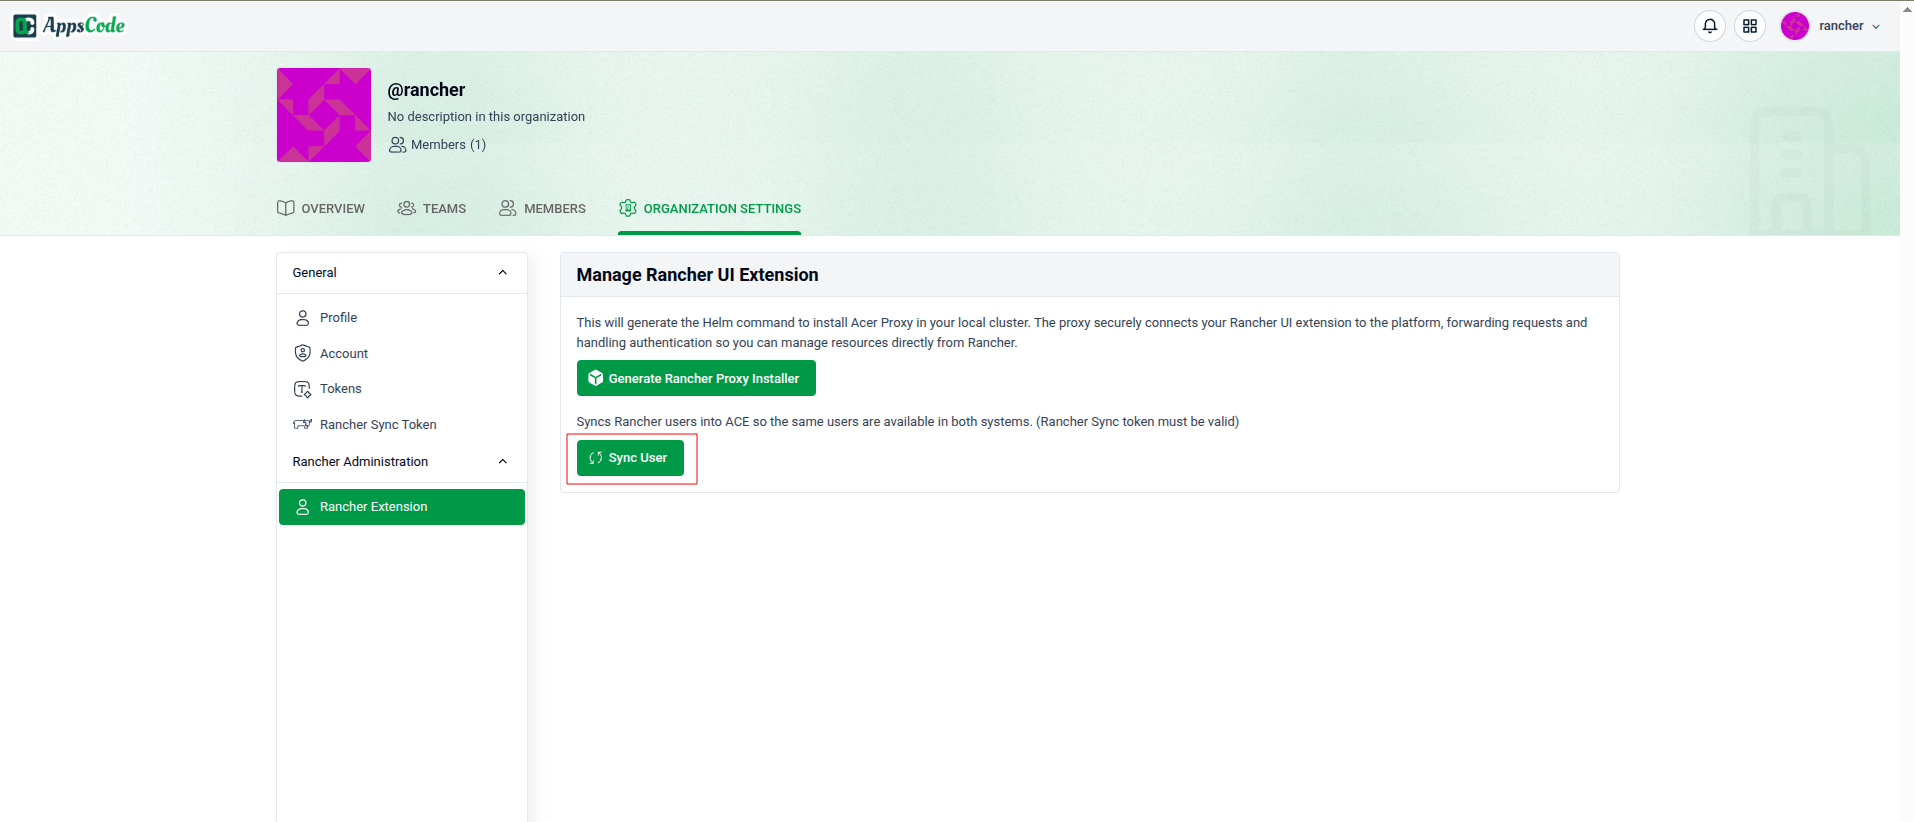
Step 3 – Sync Rancher Users
- Go to Organization Settings → Rancher Extension.

- Click Sync User to import Rancher users into ACE.
Step 4 – Install the Rancher Proxy in Local Cluster
- Click Generate Rancher Proxy Installer to generate the Rancher proxy installation command.

- First, Click the Download button to download the CA. We are passing it by --set-file in helm command. Then Copy the generated Helm installation command.
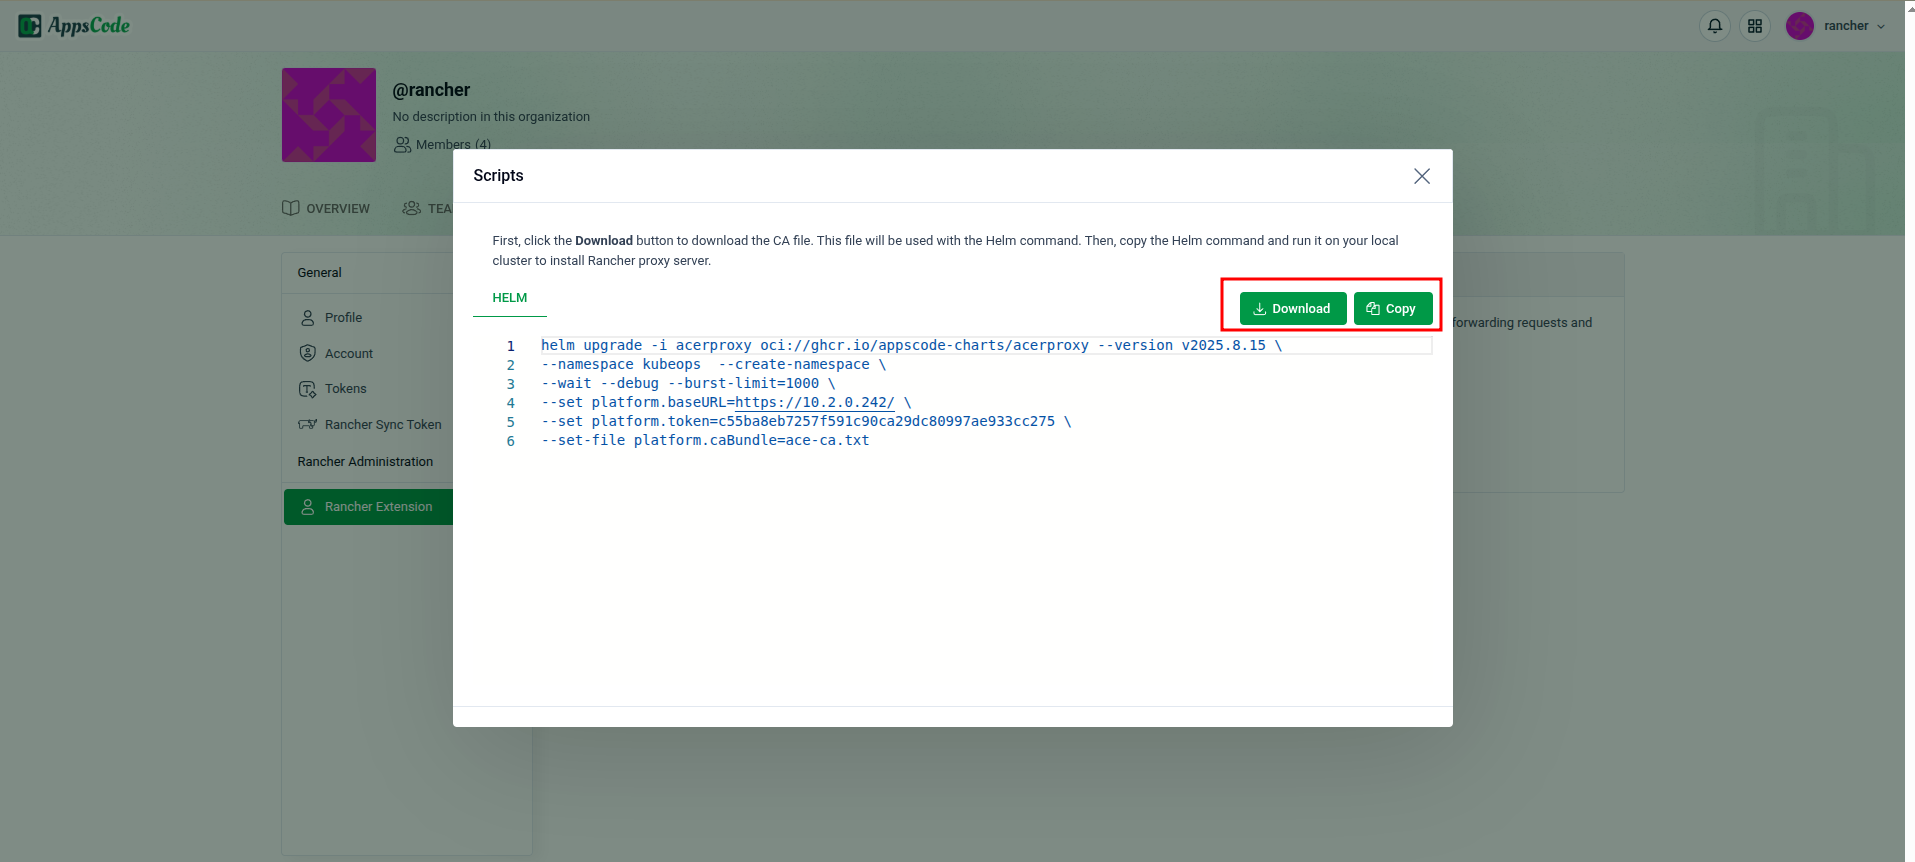
- Open a terminal connected to your Rancher Local cluster.
- Run the copied Helm command to install the Rancher proxy.
Step 5 – Verify Installation
Run the following command in your Local cluster to confirm that the Rancher proxy pod is running:
kubectl get pods -n kubeops | grep acerproxy

acerproxy-6cdcd88df-nts6w   1/1     Running   0     6d
3. Install KubeDB Extension from Rancher UI
Follow these steps to install the KubeDB extension in Rancher:
1. Open Extensions Page
In your Rancher UI, click on Extensions.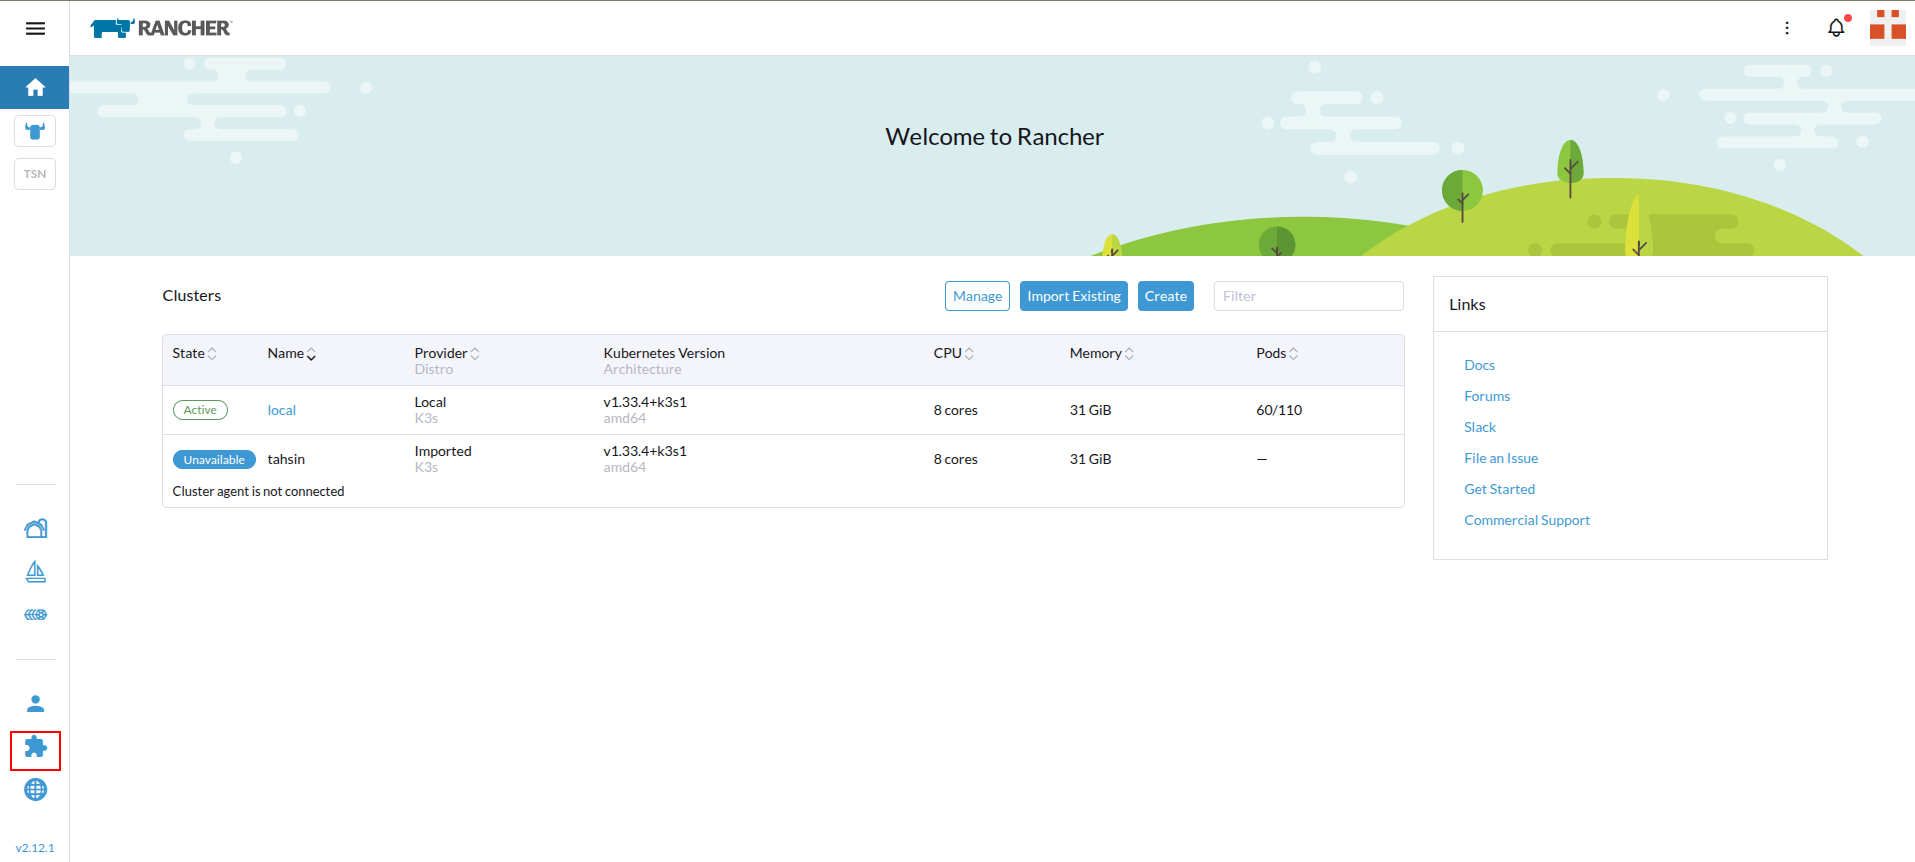
2. Open Managed Repositories
In the list of available extensions, click the three dots menu (as shown below) and select Managed Repositories.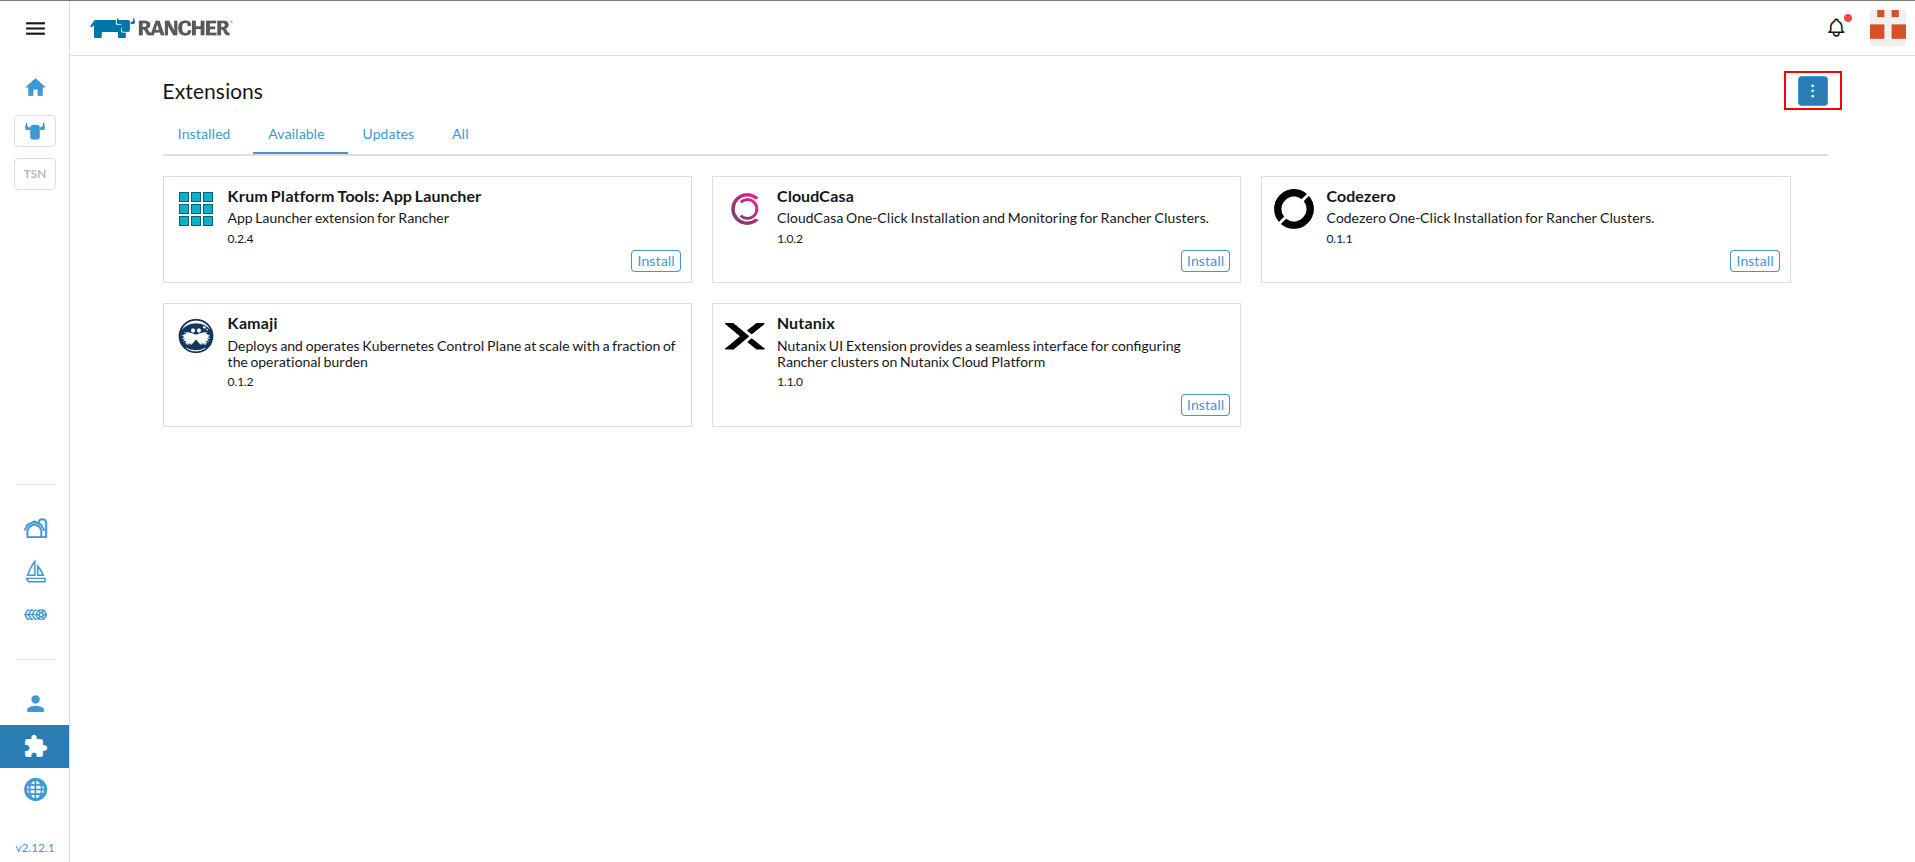

3. Create a New Repository
Click the Create button.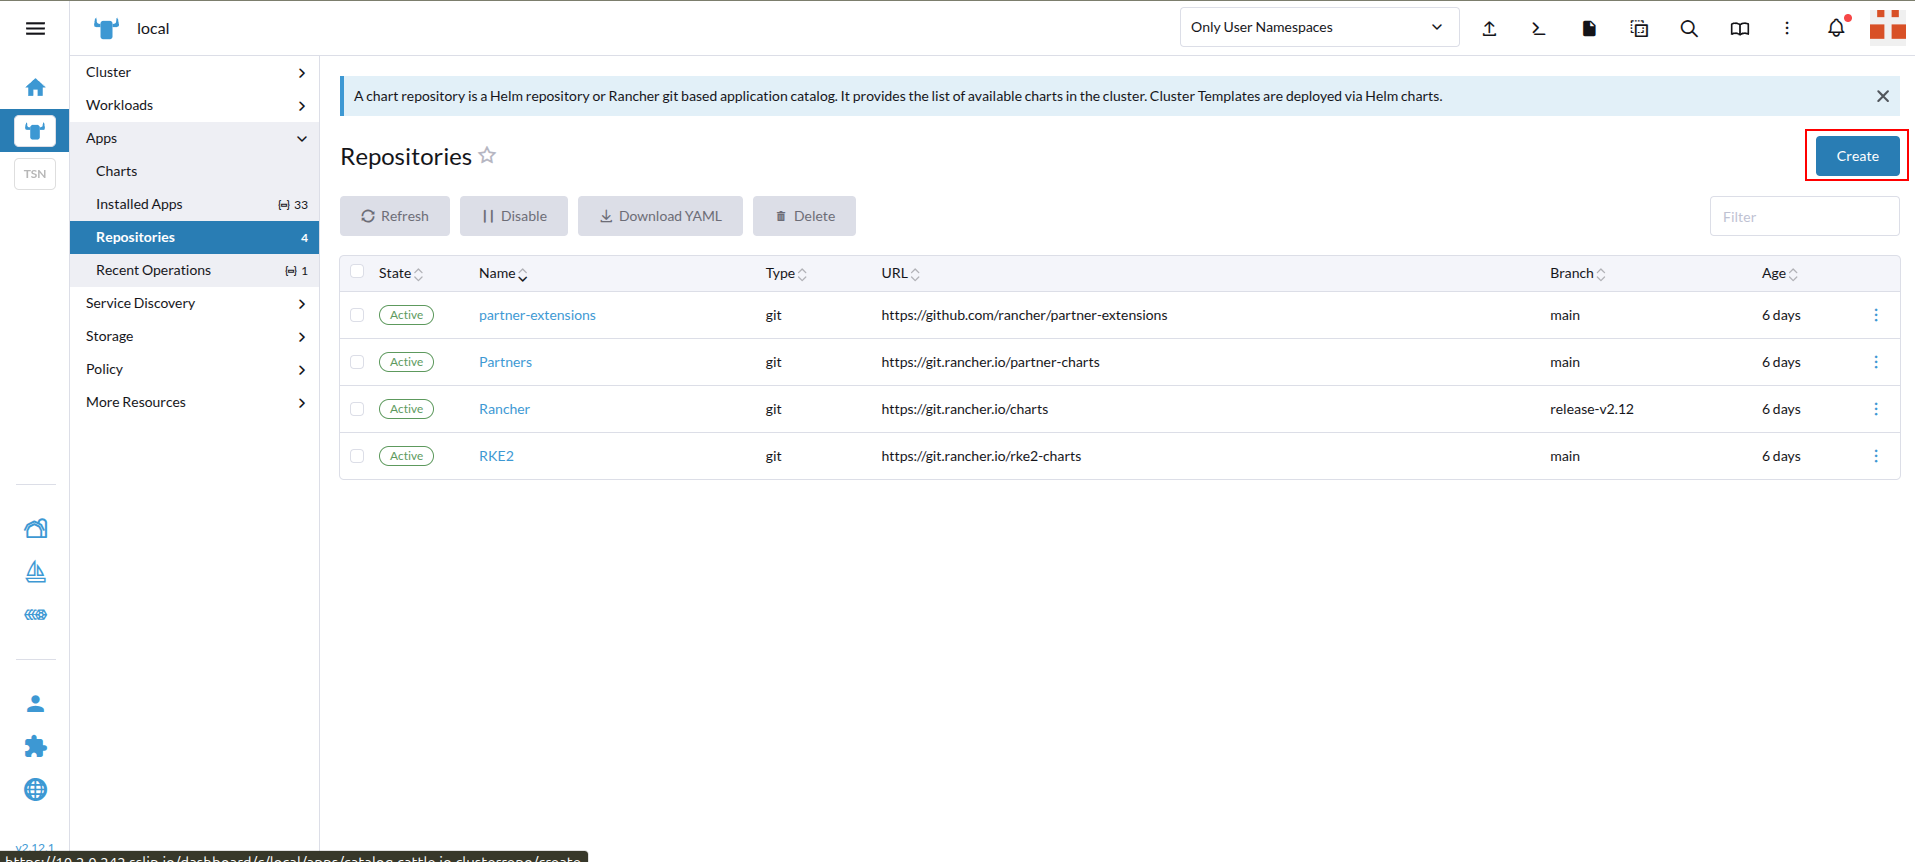
4. Enter Repository Details
Fill in the required fields as shown in the screenshot, then click Create.
5. Locate the KubeDB Extension
After adding the repository, you will see KubeDB in the list of available extensions.
6. Install the Extension
Click Install to add the KubeDB extension to Rancher.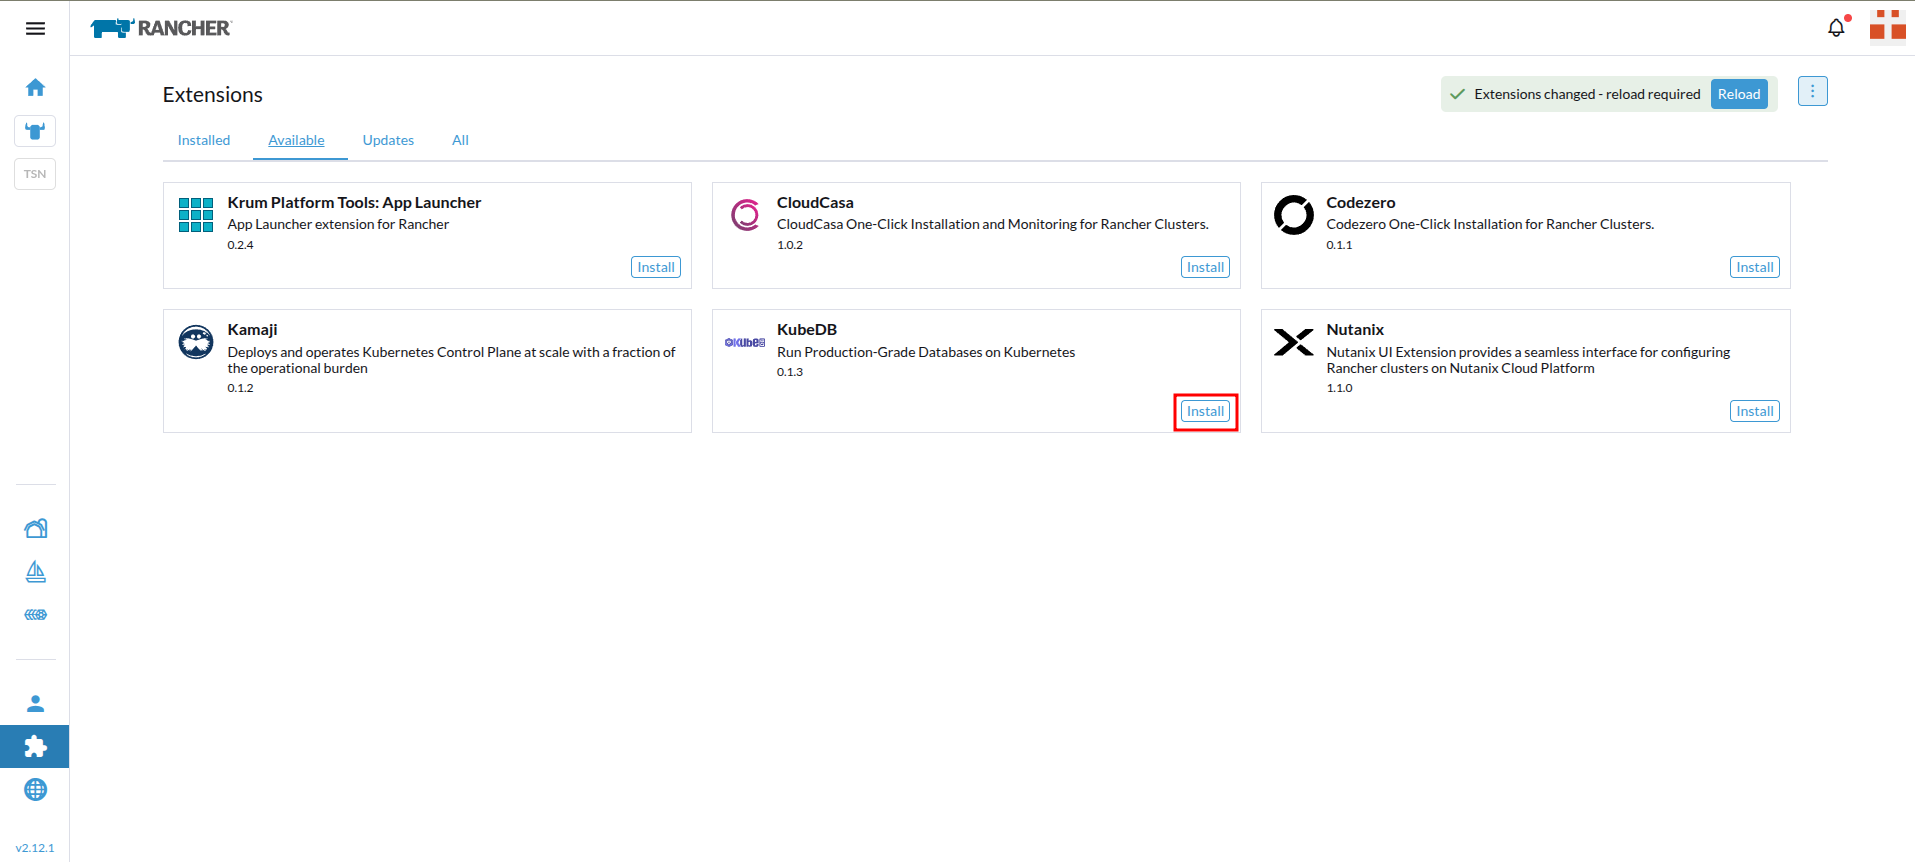
7. Access KubeDB in a Cluster
Open any cluster in Rancher — you will now see a KubeDB dropdown in the sidebar.
From here, you can deploy, monitor, and manage your databases directly from the Rancher UI.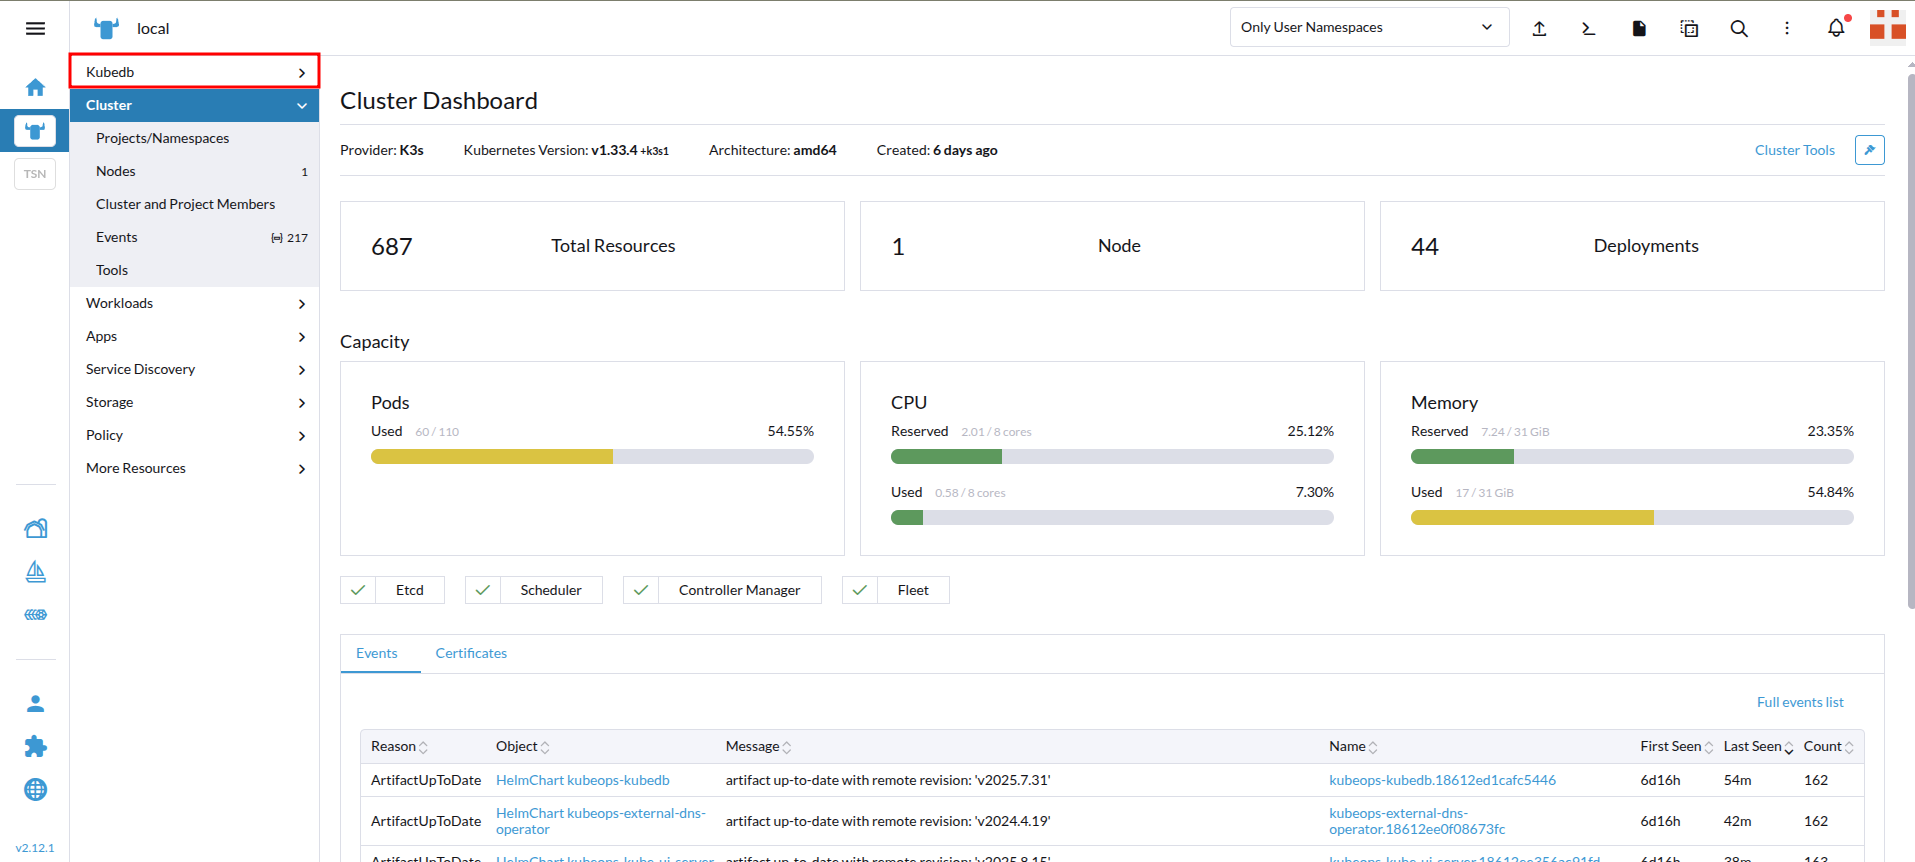
✅ Installation Complete!
You can now deploy and manage your databases directly from the KubeDB menu in your cluster.
NB: Import your Rancher cluster into the ACE UI under the Rancher organization you created earlier before using the Rancher extension, or it won’t work.